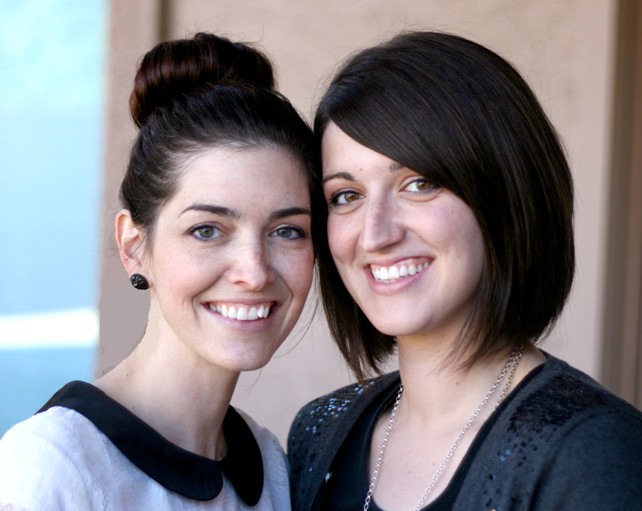
Hi there! We are Nat & Holly: two sisters that love to create, and hate that we live so far apart. So we started a blog to stay connected and share our ideas! At My Sister’s Suitcase we share DIY projects, home decor, printables, and easy gift ideas. We met Kristen last year at SNAP and we LOVE her! She has been so kind and supportive in helping our little blog grow. Thanks, girl!
I {Nat} love having pictures of our family around the house. It’s nice to have the professional, Christmas-card type photos up and displayed on your walls. I also have a lot of pictures sitting on my computer that never get seen – the less professional type! Today I’m sharing a way to decorate with pictures that is perfect for birthdays (but can be left up long after the party’s over!)

My kids’ birthdays are 2 days apart. I didn’t know how crazy that would be until that first year that we had to have 2 parties back-to-back! My daughter had a girly Pinkalicious party, and then we had a combined family party for both of them. I wanted to decorate with something special that would acknowledge both of their big days! So I looked through all my pics on iPhoto and selected 13 pictures of each child.
For my son turning 1, that meant one picture from each month.
For my 3-year old, I started with newborn and did approximately 3 months apart to show how much she has changed over the years. It was so fun to look back and get all the pictures!
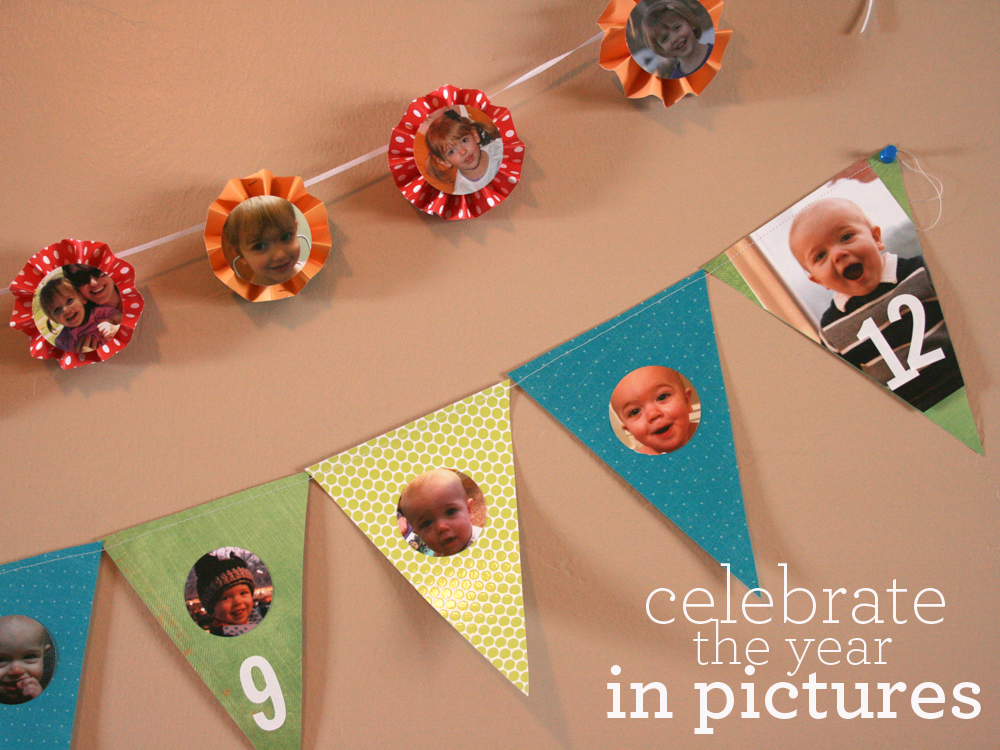
I used a circle punch on each picture (little tiny headshots!) For the pennant banner I used scrapbook paper cut into triangles, sewing them together to make one long chain. I added stickers to mark the months 3,6,9 and 12. I loved seeing the change in our baby’s first year of life!
For the other photo banner, I made a bunch of tiny accordion circles.
1. Cut your paper to desired width. I used 3×12 inch strips of paper.
2. Accordion fold.
3. Make into a loop and staple.
4. Push in the center to make the medallion. I used hot glue on the center to hold it together.
Add your punched out pictures and attach to ribbon, twine, etc. (Thanks, hot glue!)

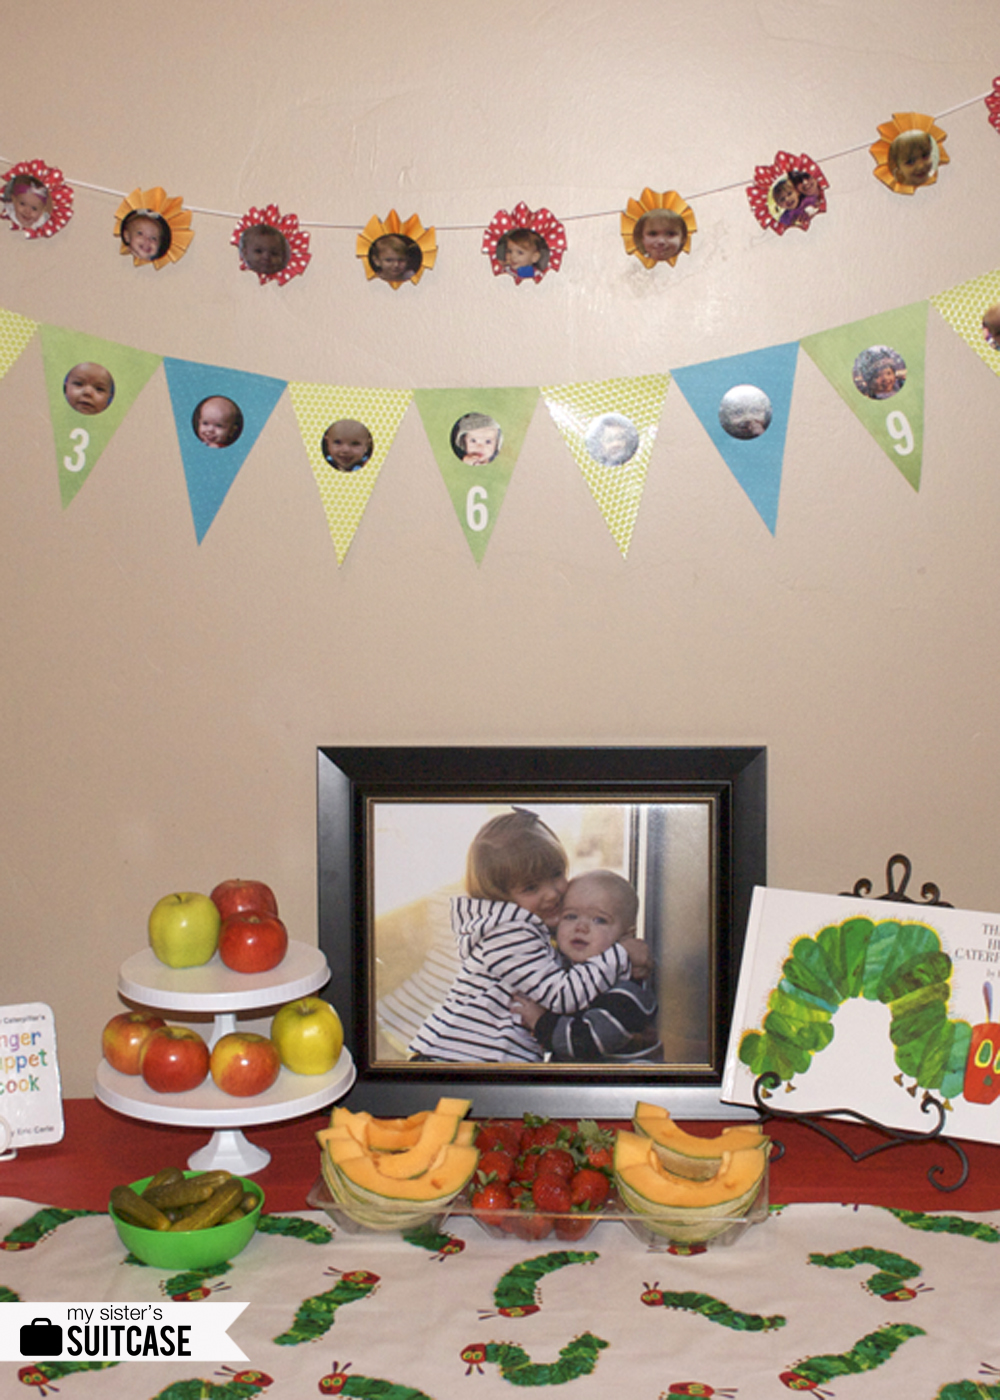
We had a fun little “Hungry Caterpillar” theme and the photo banners were the perfect finishing touch!
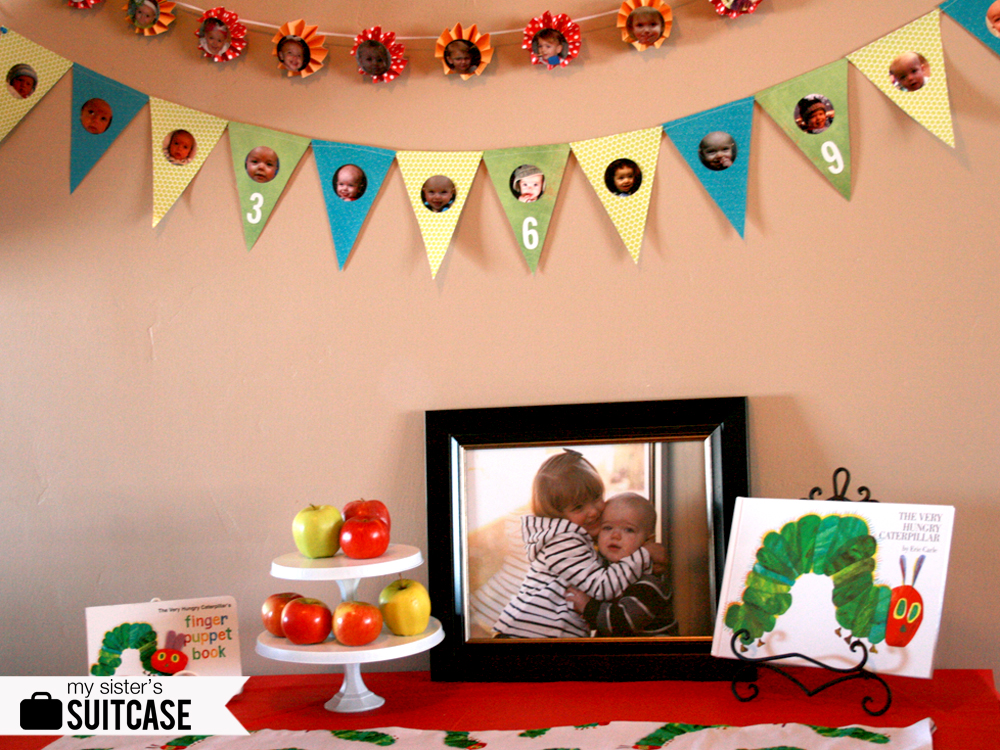
And…I liked them so much they stayed in our kitchen for longer than I’m willing to admit. 😉
I think this may be a new birthday tradition in our house!
Thanks Kristen, for having us! We can’t wait to see the rest of the ideas. And we’d love for ya to stop by My Sister’s Suitcase or follow us on Facebook, Twitter or Pinterest!
Here are some of our recent projects:
Chevron Paper Garland
Printable Valentine’s Tags
DIY Sequin Pillow

{To see thumbnails of all of the contributors in this month long series, click here.}