
NATURAL LIGHT TIPS FOR PROJECTS:
* Shoot in the middle of the day, or early afternoon when the light is at its best and brightest
* Position your projects close to a window or large opening. My kitchen window has great light, so it’s where I set up most of my shots.

*Open your front door, use ladder or table or chair to display items. Below are two examples where I places objects in front of my open front door, to capture them in great light.


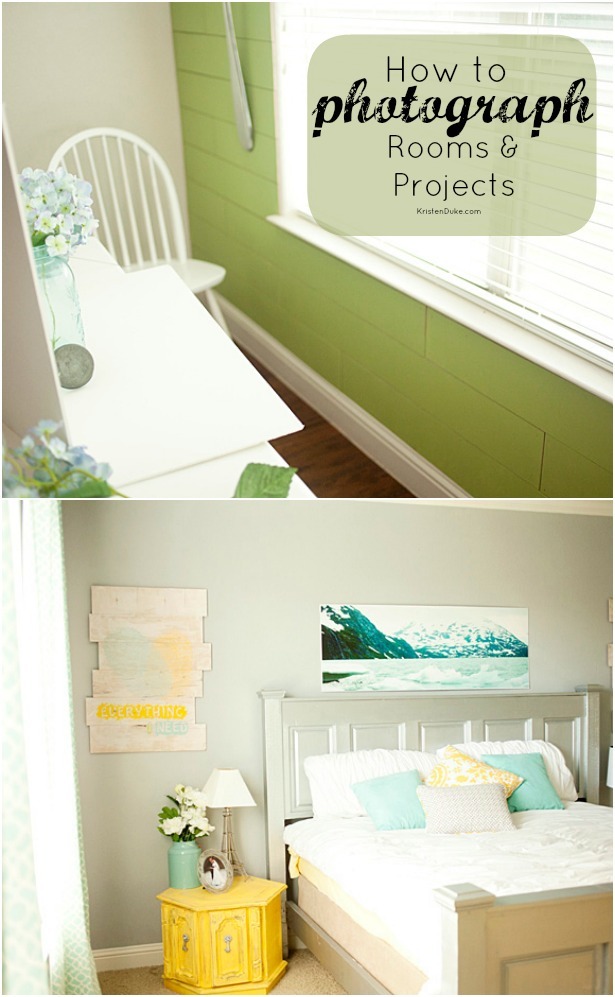
Here is a pull back shot of a project on a chair. I made it for my Master Bedroom Makeover .


*Shoot in a garage, and just open the garage door. I like to capture step by step shots of working on projects, and conveniently I’m often in the garage working on them, and the open garage doors brings in GREAT light! It’s also an option to do a table top set up in the event that you aren’t getting great light in your home for project shots.

{Working on my tin foil table}

{revealing glitter frames to my girls for their fancy room gallery wall}

Above, the garage table top set up, below, the un-cropped shot.

* Avoid harsh light. Bright early afternoon sun is great, but it can also be extremely strong – and lead to very large strong highlights, and very harsh shadows.
*If in direct sunlight window, have a sheer sheet to diffuse or push table back. Make your own shade.
ROOM PHOTOGRAPHY:
Most DIY home bloggers are showing off rooms they’ve redone or projects in a room. This can be frustrating because you can’t bring the room to a well lit spot by a big window, you have to work with what you have. The best advice I can give is to use a slow shutter on a tripod and it will brighten up your room immediately. The reason you need a tripod is because you will get camera shake if your shutter is too slow being handheld. Sometimes setting the timer and setting it down works, but that can be limiting. Here is an example in my Boys Room Makeover:

Above: picture example of a dark room Without tripod; high ISO; grainy image
Settings without tripod: 35mm lens/ ISO 1250/ aperture 4.0/shutter speed 1/160
Below: Same room, on tripod with lower ISO and slower shutter speed to allow more light
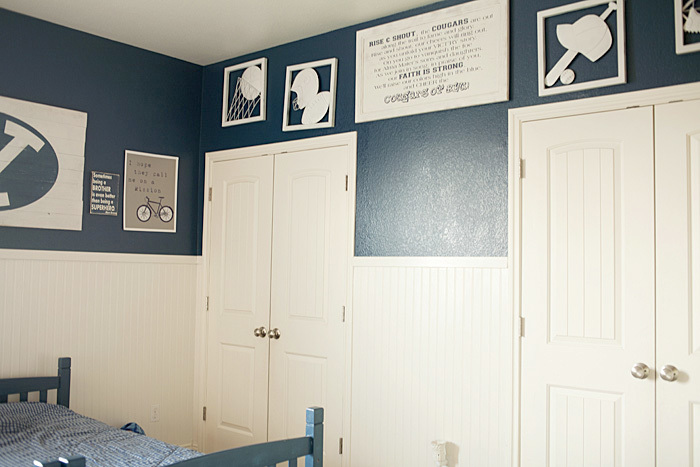
I moved the shutter down to .6 shutter speed and place it on a tripod for more light. ISO was 100.
The only time I will use artificial light during the day when I have available natural light is when I’m shooting into a window. The bright light coming through often fizzes out the details with a smoky halo around the window. Here are images from my Citrus Kitchen Makeover. You can see the light fixture has too much light on it, therefore dimming it’s beauty. The window itself is also quite cloudy.

By popping on my flash in the below shot, I am able to see the details around the window better. I recommend bouncing or tilting the flash upward. I wanted to see more of the detail of the orange colander chandelier, and it got lost in the window light above. As you can see, it also reduced the shadows on the chairs and wall as well. It showcases the room nicely, and makes for a crisper, cleaner look.

In most cases, I still prefer the look of the natural light in the image below, I just stood at a different angle (not directly shooting into the window light) and the details were more clear.

I hope this helps give you more ideas when photographing your home and projects. If you’d like more technical tips on how to use your camera, check out other photo tips, as well as my beginner and intermediate photography books: Say NO to Auto and Get Focused