
I get questions about what I shoot, and what I edit with a lot, so I thought I’d dedicate a post all about this. I believe these two concepts go hand in hand, that is why they are combined in a post together.

Let me first say that I shoot in RAW format and edit solely in Photoshop.
The phrase, “you can just photoshop that” kinda irks me, because I see Photoshop as an enhancer, not a FIXER. I say this in my beginner book, and to people all the time, I believe it is important to learn how to use your camera properly first, then use these tools to enhance your images.
However, there are lots of tips and tricks to use both Photoshop and Lightroom to make bad images look better. I was guilty of using them like that before I better understood my camera.
For those of you asking, what is RAW?
RAW image files are also called digital negatives, similar to negatives in film photography. The negative cannot be used as an image, but has all of the information needed to create an image. RAW files are so named because they are not yet processed and therefore are not ready to be printed. The JPG is like unto the 4×6 print produced from the negative. A copy of the bones of the image (RAW file).
So RAW images cannot be printed, they must be converted to something like JPG in order to print.
I tweak the RAW image, convert to JPG, but can go back to my RAW’s (think film negative) and change it back to its original. A jpg–once you edit it, there is no going back once it is saved.
When I first started shooting and editing in RAW, what sold me was the ease of using a few sliders (lighten, darken, warm up, cool down) to get my desired result quickly, and as a batch.
HOWEVER, I’ve learned in recent years that one can tweak JPG images in a similar fashion in Lightroom. When I started learning about all of this 7 or so years ago, I hadn’t even heard of Lightroom. It was only Photoshop, so that’s what I taught myself from. I tried out Lightroom, asked a bunch of friends, did some research and my lightbulb moment that told me I didn’t need to mess with Lightroom was this:
RAW is to Photoshop as JPG is to Lightroom.
You can edit your JPG (as well as RAW) images in Lightroom with sliders, the same as I edit my RAW images in Photoshop with sliders. There are other programs out there, but these two are at the top of the field.
Compare the similarities:

{The slider comparison I found here.}
Lightroom is much more user friendly and basic. Photoshop is quite overwhelming with many many facets to discover and learn. Lightroom has basic editing tools, so a lot of people like that. However, the professional photographers that do edit in Lightroom still use Photoshop for advanced features such as blemish removal, head swapping, creating templates with text, liquify, I could go on and on.
So for me, I didn’t need to go teach myself how to use Lightroom when I was doing the same thing with my RAW images in photoshop. But starting with Lightroom might be easier for those that have never used an editing program before…simply because it is less overwhelming than Photoshop (and less expensive). But if you had just ONE, I’d say go for Photoshop—am I making it more confusing? They do the same things–differently–but Photoshop does more.
So the answer to the questions should you shoot RAW or JPG, depends on what editing software you have. The highest version of Photoshop is quite pricey, but I haven’t even upgraded to that (I have CS2). I started with Photoshop Elements 2 (it came free with my Canon Rebel) and used that for years. However, that basic program does not edit in RAW (though other programs could, and then you would edit further in PS2). Now, there are “actions” or recipes for Elements users, which is amazing, and quite a bit of advanced editing techniques can be used with Elements, and it sells at Sams Club for around $80 (last I checked).
I hear that many people love Lightroom for it’s photo organizing tools.
Now for some specific editing tips in using the sliders, I’ll first start with something important to note:
Digital images straight out of a camera–even shot with near perfect exposure will never have the vibrance and color that film camera’s had straight out of camera. That is where photo editing comes in, to enhance, liven up, and bring to life those lovely images from their dreary flat coloring.
Here is my tutorial on editing a RAW image in Photoshop, similar to using sliders in Lightroom on a JPG as well.
This is a shot straight out of my camera:
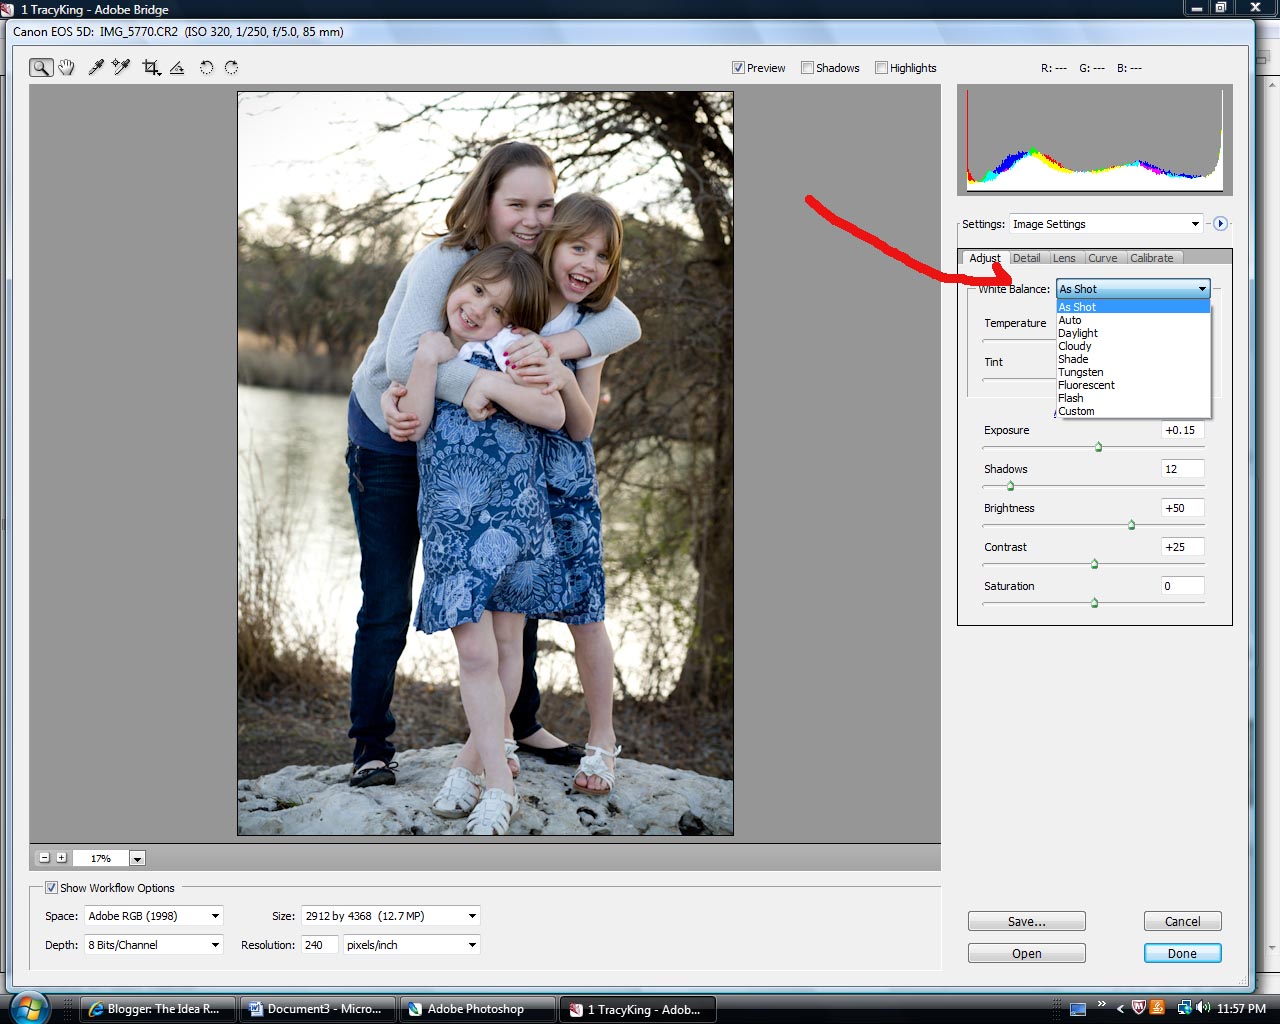
Looks pretty good, eh?
Above, my red arrow is pointing to my white balance. I usually keep my camera setting on shade white balance. I shoot 85% in open shade, so it’s mostly accurate. Some shoot in Auto White Balance, but I like shade. This feature in RAW, if I happen to be in the sun and my camera is set to shade, I will change the slider to sun in my RAW edit software (as if it was on the sun setting on my camera).
If I don’t like it, and want to go back to my original RAW image, I go to “as shot” and can start all over.


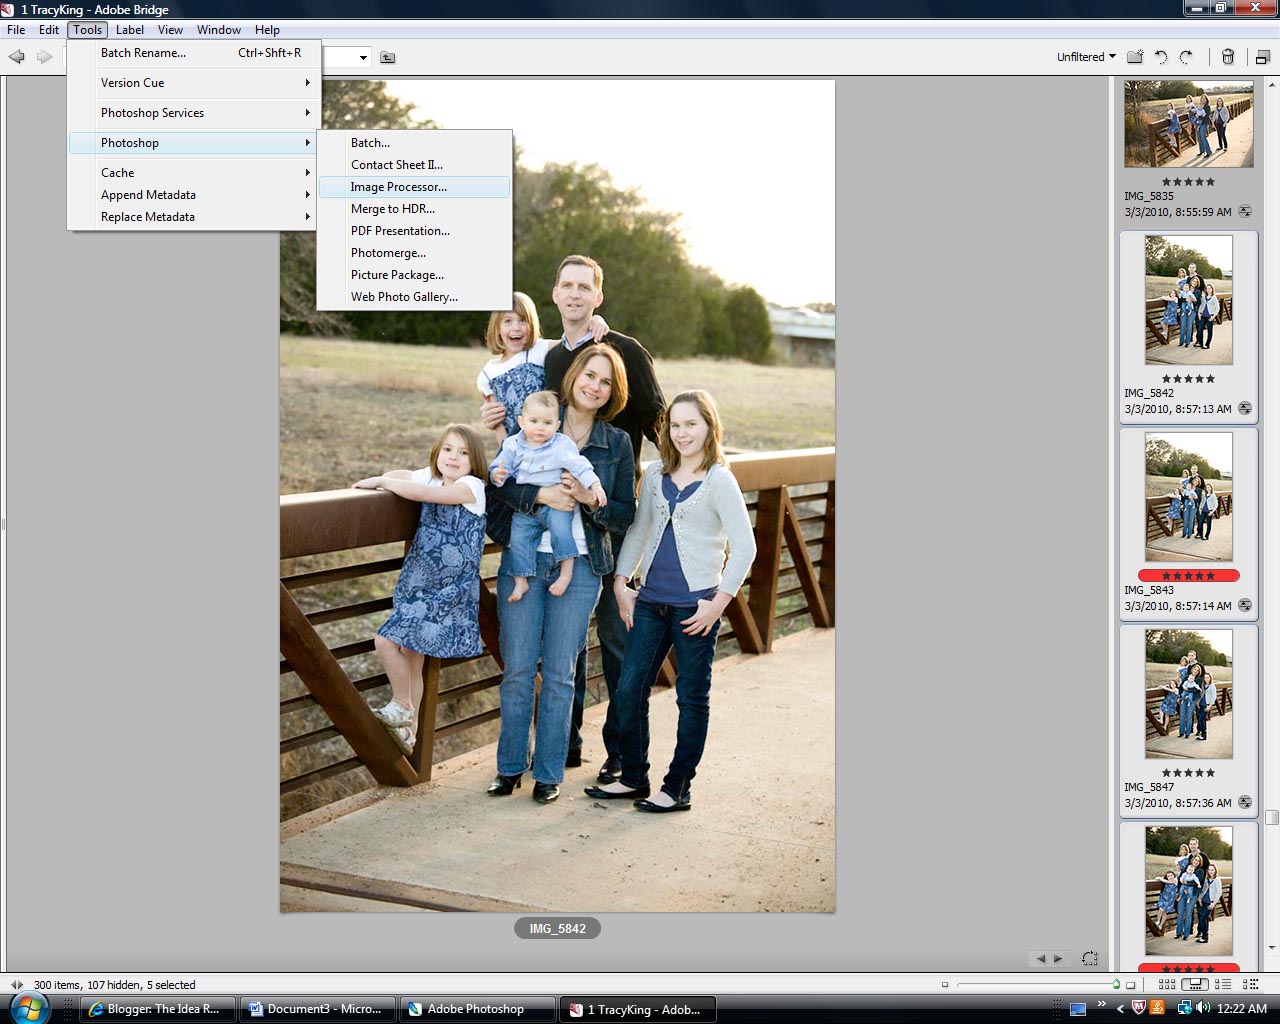
You will get a pop up window that asks where you want the folder of jpg images to go.
I say to save in same location (it will create a folder for you called “jpg”) and then apply my color pop action to all my images. This is GREAT if you have a “go to” action that you apply to every image no matter what.

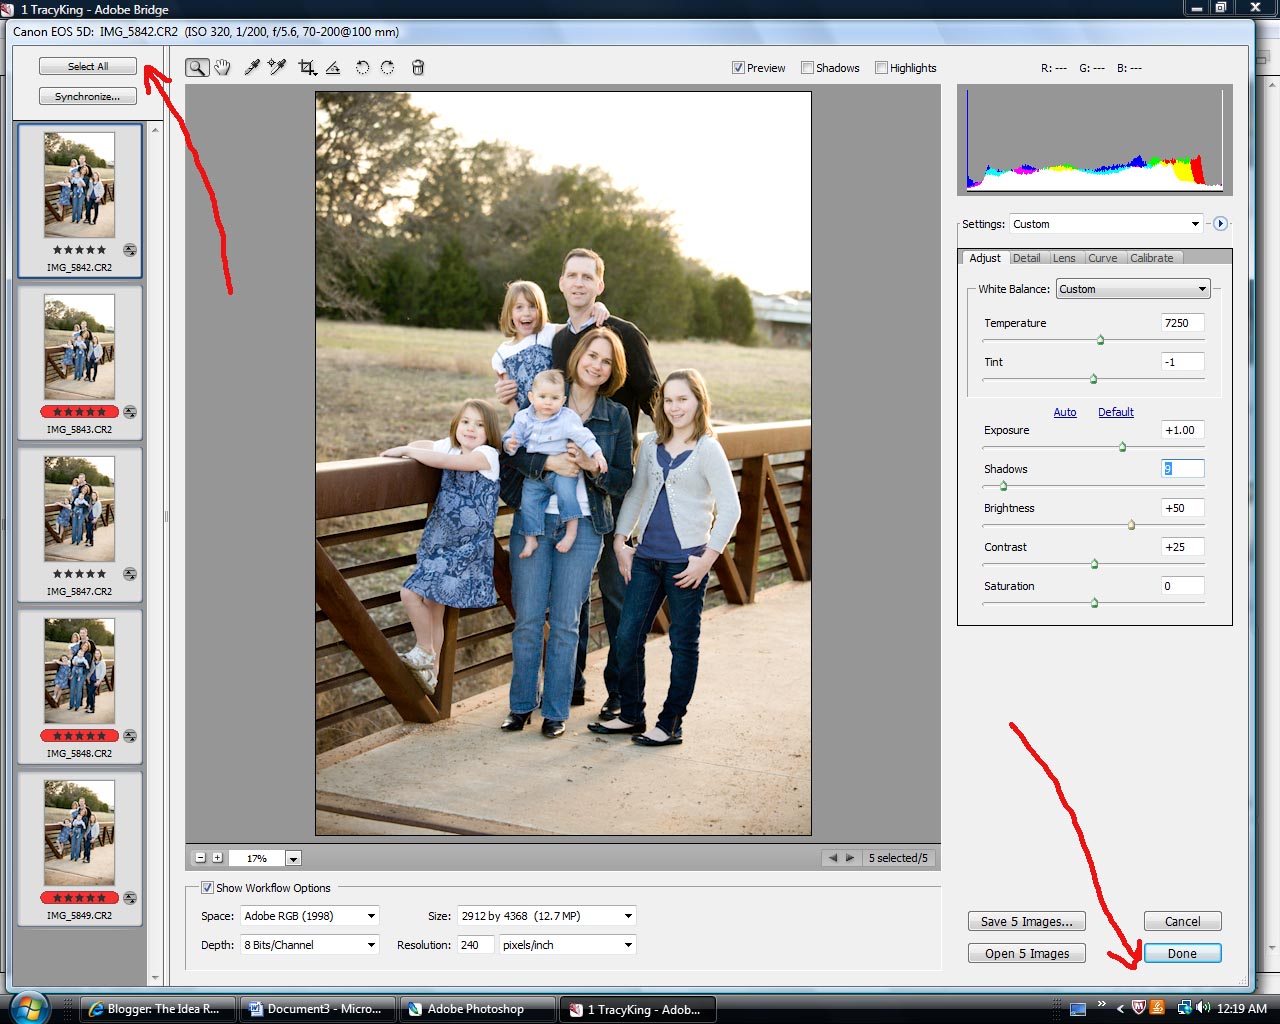
Then hit “RUN” and it will process each image. Depending on the speed and how full your computer is, it will take 5 minutes to an hour. Also depending on how many images you are processing. It takes mine about 10 minutes to process 100 images. With my workflow, I shoot an average of 250 images per session. I go through my RAW images and assign a star rating (1-5) to my images. All 5’s get processed, the 1’s don’t. That way I am only actually processing half of the images I took. I don’t quite get rid of all the RAW’s though. An overall image may not be great enough to show to clients, but could be useful for a headswap for one later.
Drawbacks? RAW files are HUGE! My 5D can shoot over 500 large jpg images on a 4gb card, but a little over 200 RAW files.
If you are unsure, shoot in RAW+jpg mode and you will get both, but will take up even more space.
P.S. Some very basic Dslr camera’s may not even have the option to shoot in RAW.
P.S.S. Since I don’t actually use Lightroom, all of this information is an observation on my part in asking lots of questions, so please correct me if I get something wrong!