
I’m happy to introduce my friend, blog assistance, and occasional contributor to you all! Jessica blogs at Mommy Envy, and she has been very helpful with some behind the scenes on my site the past 6 months and I’m VERY grateful! She grew up in a small town near me in Texas, but now lives in Colorado! We’ve never actually met in real life, but I get to meet her at a conference in February, I’m so excited! Give her some love for her first project shared on my site!
~~~~~~~~~~~~~~
Valentine’s Day can be a weird holiday to celebrate. Kids have to give a Valentine’s to everyone but you know they all have their secret crushes they want to give special attention to. And don’t even get me started on high school. Maybe it’s different now but I wasn’t a kid who was over joyed for Valentine’s day at school. I didn’t get the fun Candy-grams from friends that the cheerleaders handed out as a fundraiser. I didn’t get flowers sent to me (and that’s probably a good thing because then you have to carry them around all day or cram them in your locker).
But Valentine’s Day was still a special day in our house. As kids we couldn’t wait to get home to see what our mom was up to. Every year she made our favorite foods for dinner. Some years it was an odd assortment but we didn’t care. Tater tots and spaghetti? Sure thing! The best part was the table was set for a fancy feast. She had candles and fabric napkins. Those fabric napkins were placed on our plates to hide our favorite treats and every year my treat was a box of sugar cookies with as much frosting as cookie (you know the ones). Oh it was heaven!
I was pretty excited when Kristen asked me to guest post with a Valentine’s themed post because I got a new toy for Christmas! I received a rotary tool and honestly didn’t know what I was going to do with it. I figured I should try and get some use out of the new toy so I won’t be so afraid to use it in the future. And I’ll admit it wasn’t easy at first but kept trying and got the hang of it quicker than I thought I would!
I needed some Valentine’s Day love in my house so I created these wooden Valentine’s blocks out of materials I already had. Those are the best projects to have!
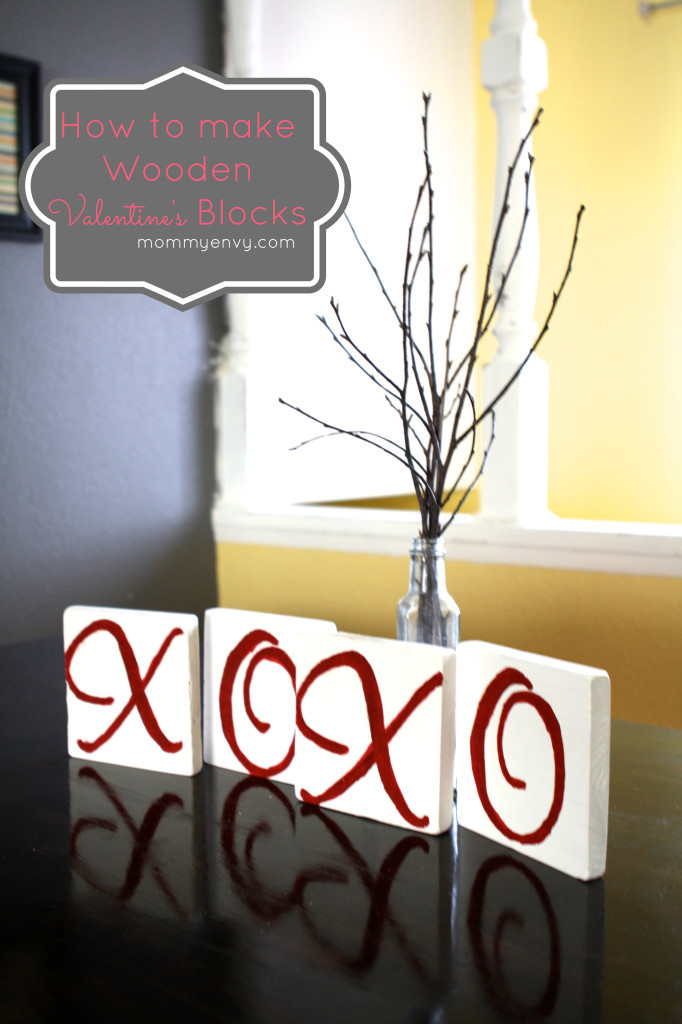
Like I said, it wasn’t easy at first, and I almost gave up on this project. One of my resolutions though is to finish the projects I start. I started with what I thought was a scrap 1×4 I picked up for free at my local Home Depot. They were left over pieces from another customer’s cut. Check out the back of the store where they make their cuts. They don’t always have a pile of scraps there but when they do they normally have a pretty deep discount.
The wood was actually 1×5.5 (odd). I four pieces square (or actually my husband did). I then sanded the edges smooth from the jagged sawing. I also sanded the corners so that they were rounded. I did this to the sides to but you need to be careful and keep a flat edge if you over round your sides your blocks won’t stand up.
I found a font I liked on my computer and printed out an X and an O for tracing. If your wood is soft enough you will be able to trace the letters with an end to a pen or another pointed object. Next I painted the blocks with white paint I already had for my house. Acrylic craft paint works too. You can find them for as low as 65 cents.

Here’s where the fun begins. I took out my new toy and stared at all of the tips that came in my kit. I had no idea which one to pick so I guessed. I thought I would just put the tip on and trace the letters. I figured it will just eat right through the paper if it’s going to carve into the wood anyway! Note to self: read the instructions! I used a tip for stone polishing at first and that didn’t work so well. I eventually read the information about each tip and decided to use a diamond edged tip and a sanding tip.

I used the diamond tip to trace the X’s and O’s, once they were traced I used the sanding tip to take the paint and etch into the wood a little within each letter. I liked the look of the bare wood but the letters didn’t stand out like I wanted.

In the end I decided (with the help of a couple of people I texted) to paint the letters. You will want a small brush if you are painting letters because it can get tiny and detailed depending on the font you choose.

What a fun project, Jessica! Thanks for sharing!! You can find Jessica at her site, Mommy Envy as well as social media: