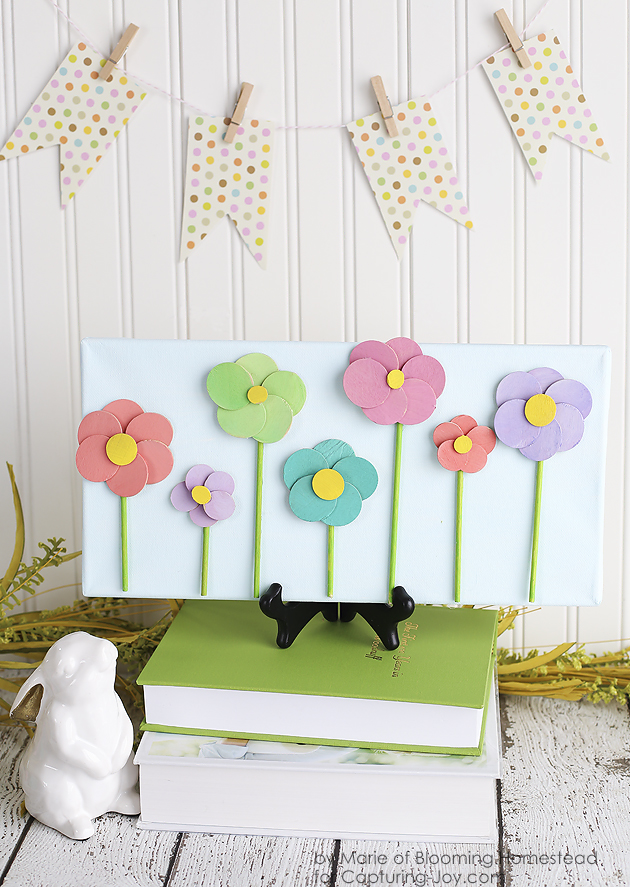
Hello Friends. It’s Marie from Blooming Homestead, and I am back to share a fun spring craft today. This Spring Floral Canvas was so fun to make and would be a great activity to do with the kids. (Think Spring Break!)
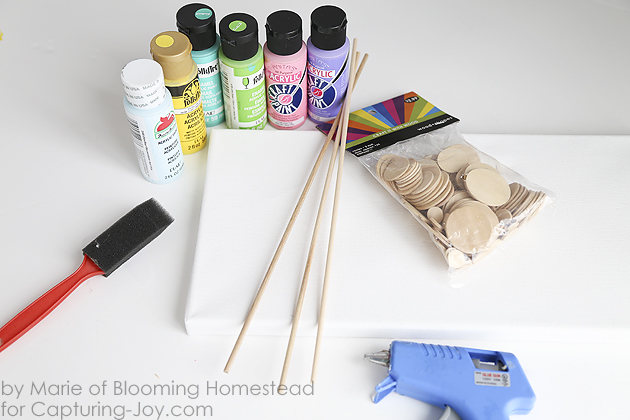
Here are the supplies you’ll need:
- 7×14″ canvas
- pastel acrylic paints for flowers and canvas
- foam or paint brushes
- wood circle shapes (can buy as an assorted bag at Hobby Lobby)
- small wood dowels cut into stem lengths
- hot glue gun
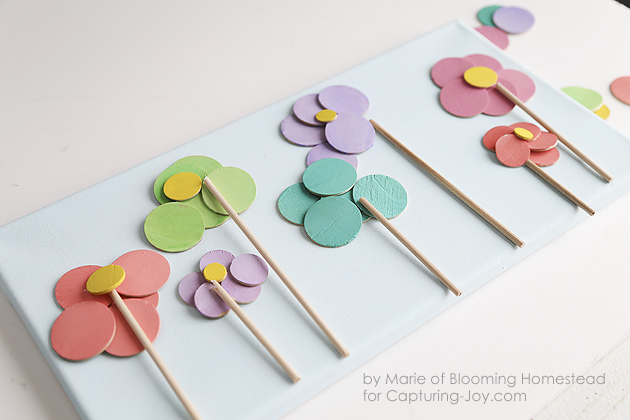
To start, you’ll want to paint all your circle pieces, stems, and your canvas. I chose light pastel colors that just seemed so “spring”.
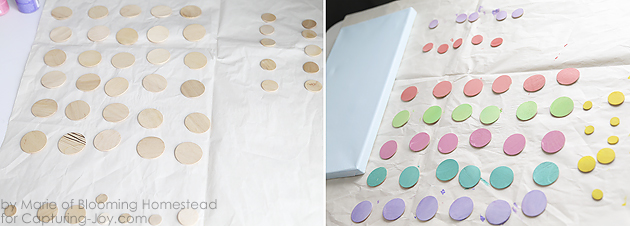
When your paint is dried, you can start assembling. I recommend setting out your flowers on the canvas to determine where you want your flowers placed. This is also a great time to measure and cut your wood dowel stems. The small wood dowels can usually be trimmed with scissors.
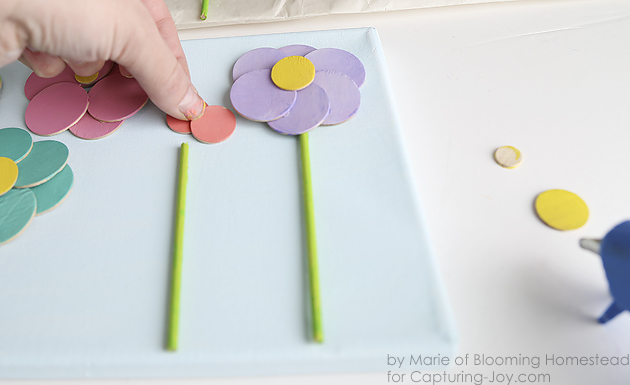
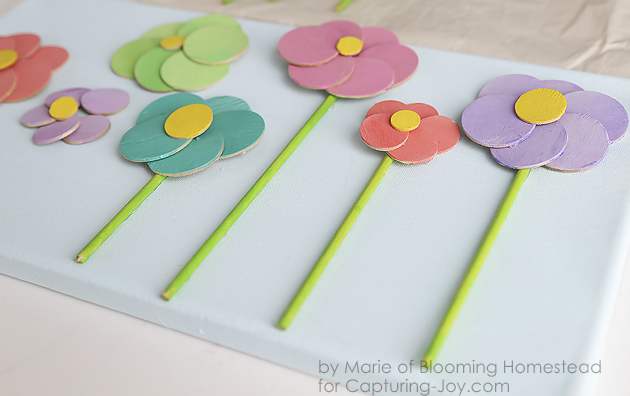
When you have the flowers set where you want them you can start glueing them in place. I found it looked the neatest to glue down the stem first, then start placing the petals. Leave the unglued pieces where they are so you don’t misplace them when you are glueing and work on one flower at a time.
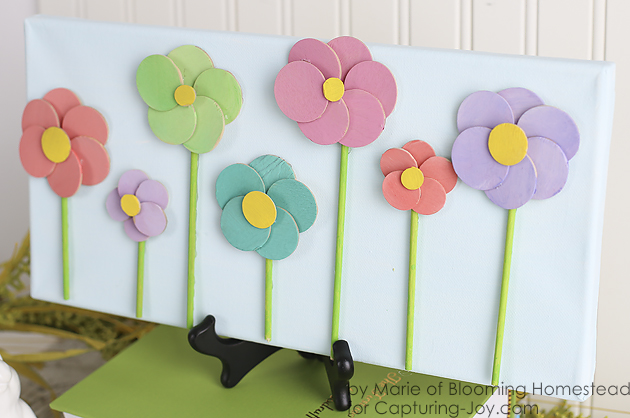
And that’s it! A beautiful way to add a touch of Spring indoors.
I’d love for you to stop by Blooming Homestead and check out my latest projects. I also love to share fun updates on instagram and facebook.