fruit smoothie ice cream pie with waffle cone crust
caramel corn with white chocolate and almonds
finding open shade
kristen duke summer favorite things giveaway bucket
Fudgy Vanilla Brownie

Decorating with Portraits~My first Mod Podge Project

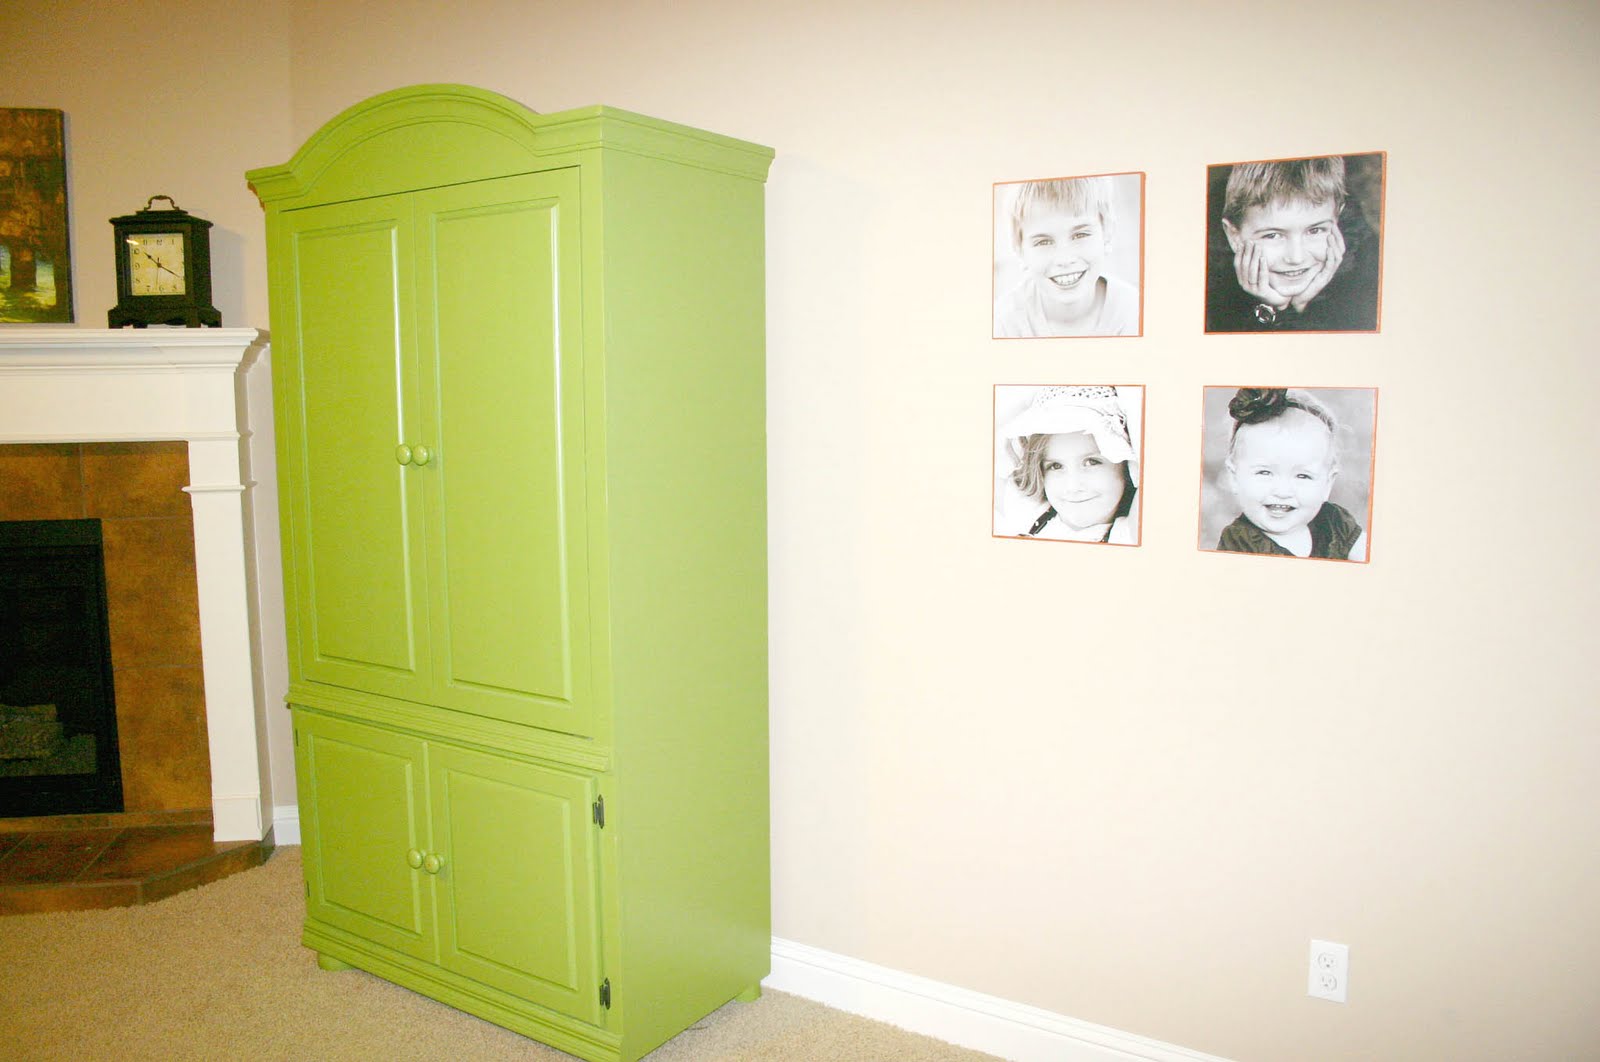
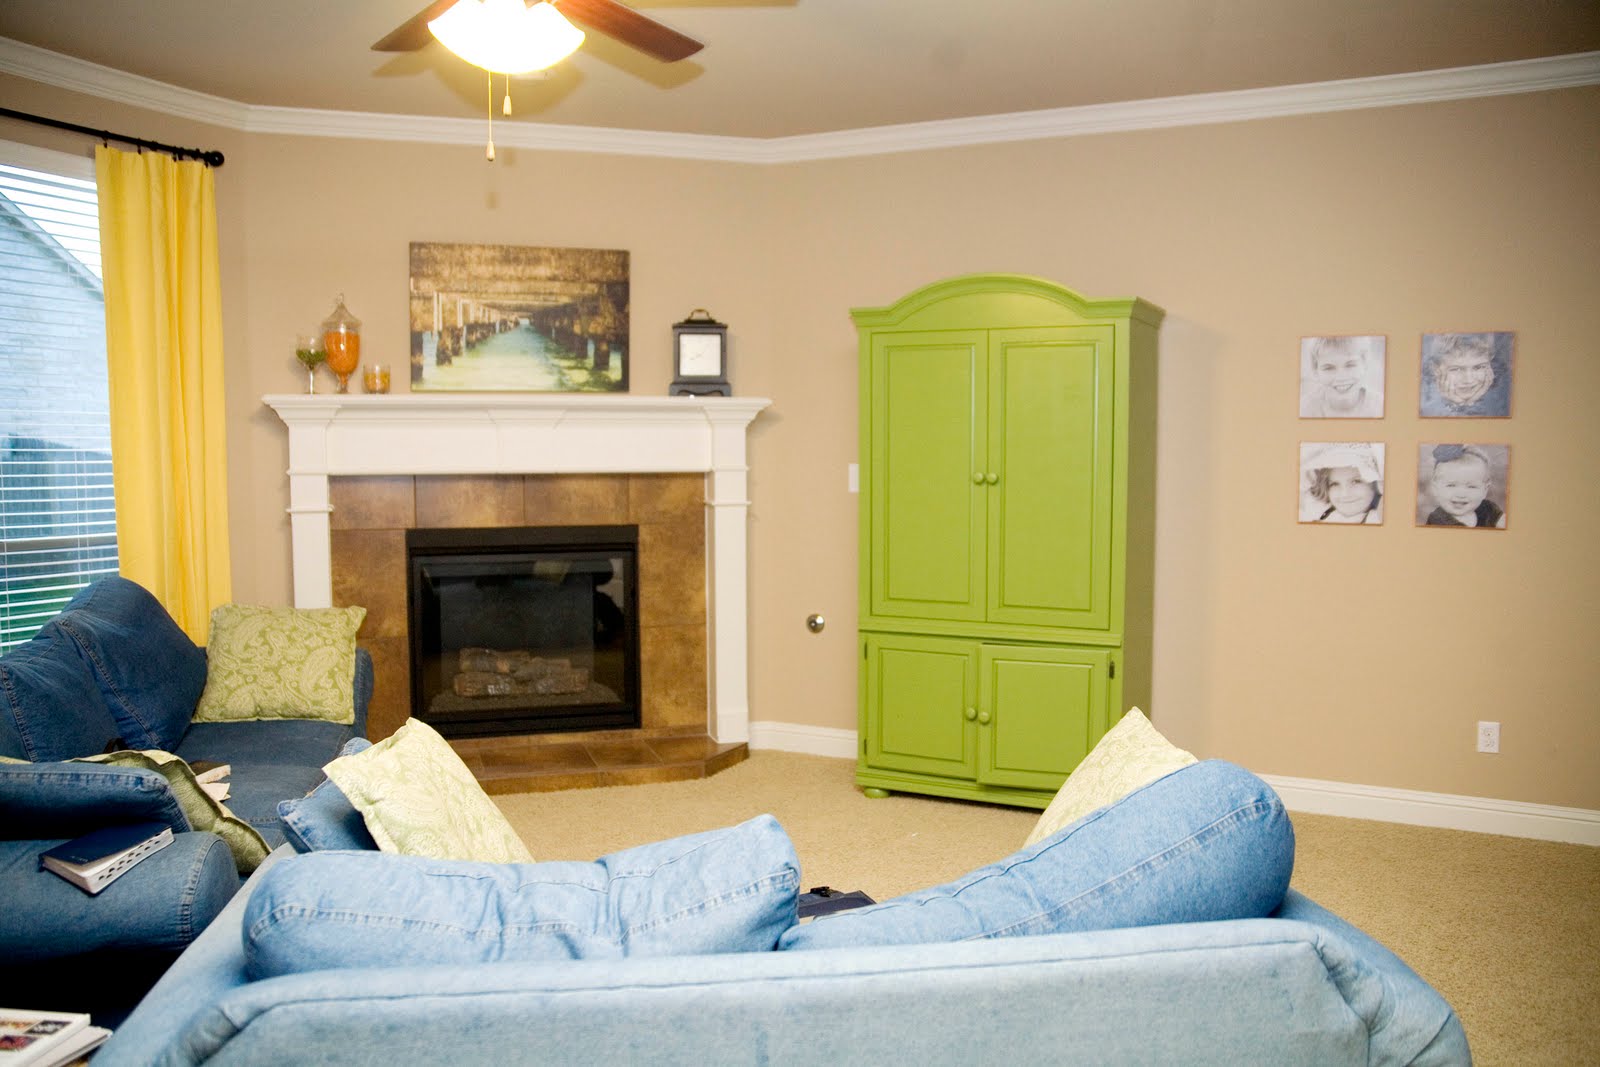
I have been all over the crafty blogs lately and have been dying to do something with mod podge.  I wanted a unique way to hang some individual portraits of my kids and had planned on doing standouts that I saw from my pro lab with a silver finish around the edge.  However, they didn’t make them in the size I wanted (12×12), so my wheels started turning…  I then thought of wood and mod podge.

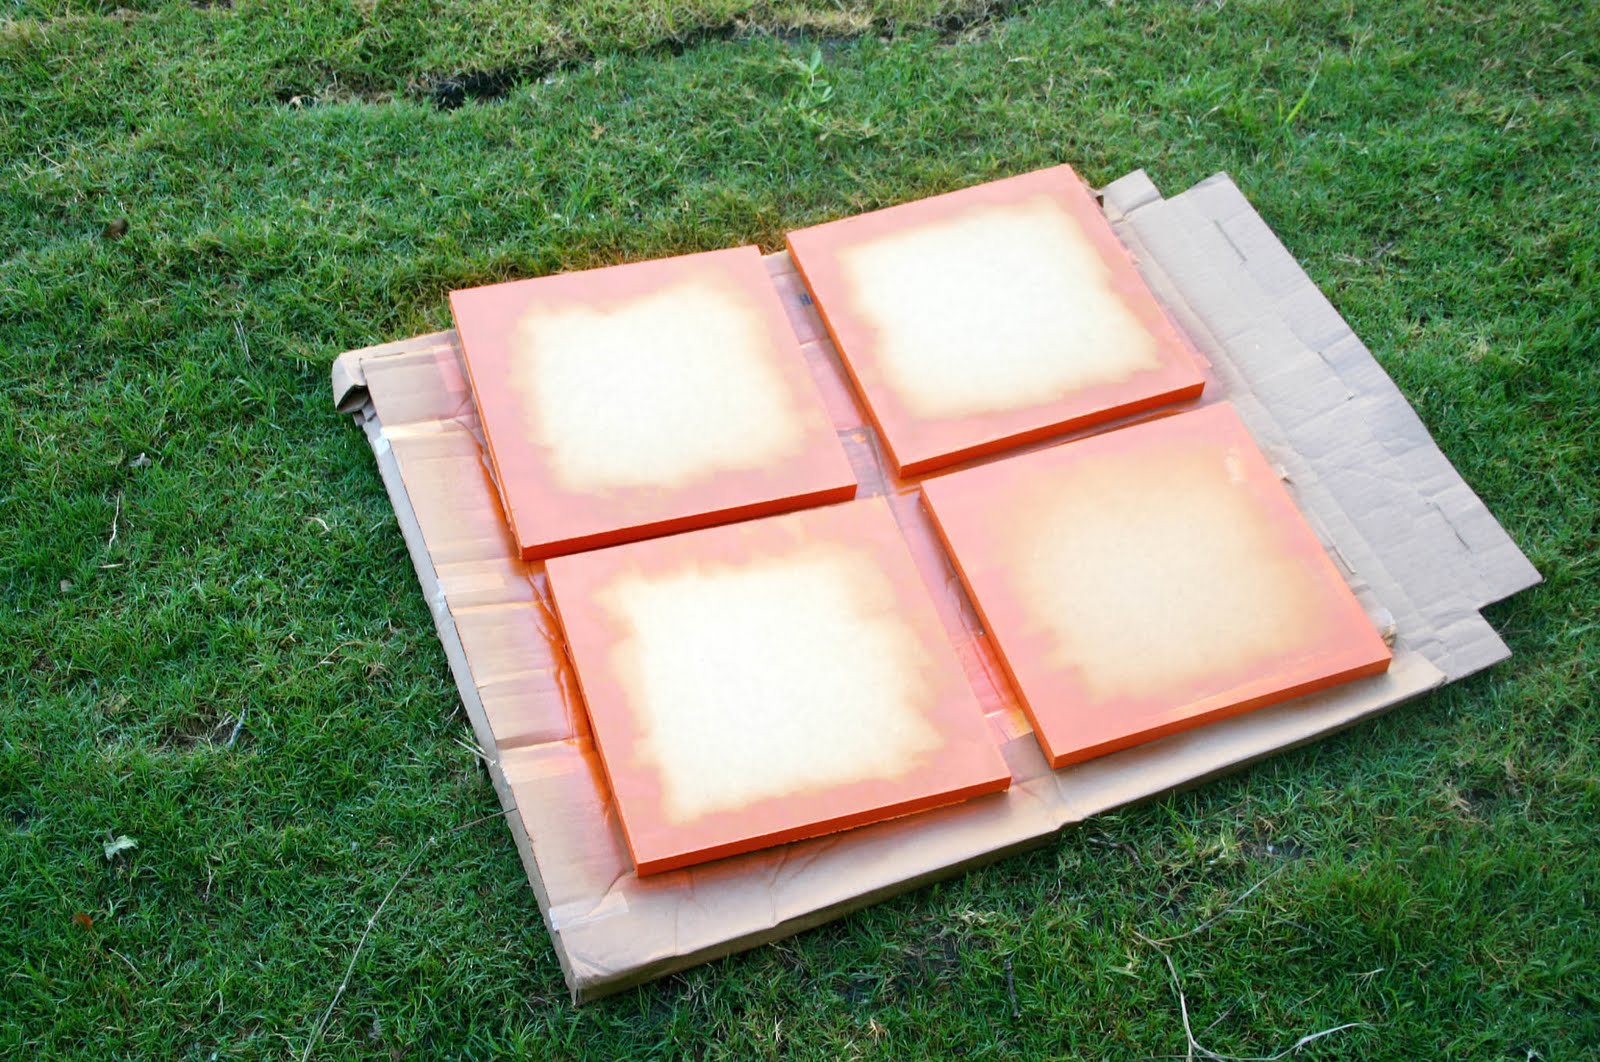
I went to Home Depot and found a 2ftx4ft board that was 3/4 thick.  I wanted at least one inch, but I settled for the big board because it was only $10 bucks.  I had the guy at Home Depot cut my squares to a 12×12 and I got 8 of them! I only needed 4, so really only $5 for my wood (you can share with a friend or save it for another project).  My 8 pieces of cut wood below.
I decided on an orange edge, so stacked them up and first primed them and then sprayed them orange all together.  They got a little stuck together and my hubby had to help me yank them apart.
I also needed a little more around the edge for a border, so sprayed them seperated, too.

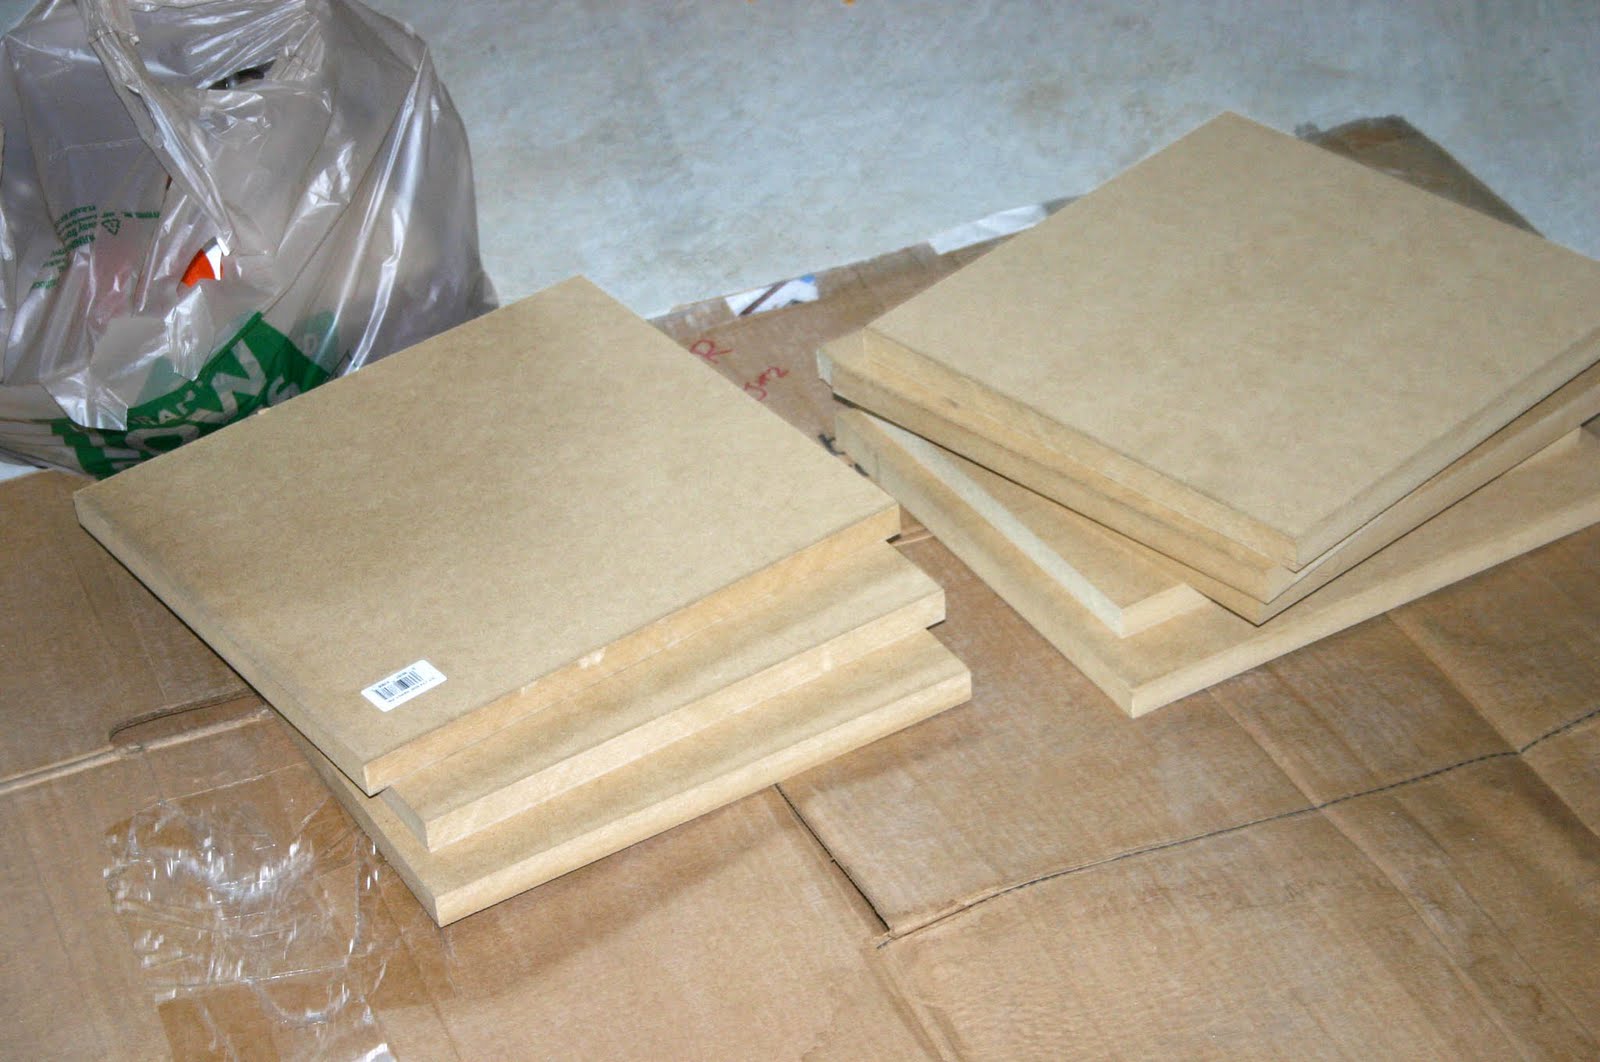
Since I was being crafty with my prints, I decided not to pay the extra $ for pro lab prints.  I am usually a big advocate of the color quality that a pro lab offers, but with this being my first project, I wasn’t sure if the mod podge would alter the color anyway.  I also played it safe by sticking with a black and white print.  I saw that Sams Club offers a 12×16 print for about $3 each (wowzers).  I made up a layout in photoshop that looks like this:

I cropped my image to a 12×12 and placed in on a 12×16 and they trimmed for me. Now somewhere between the guy at Home Depot cutting the wood, and Sams trimming my pictures, I didn’t get exact 12×12 on both–didn’t quite line up.  The pictures were a tad smaller, so I ended up having a little border instead of having it flush as I planned.

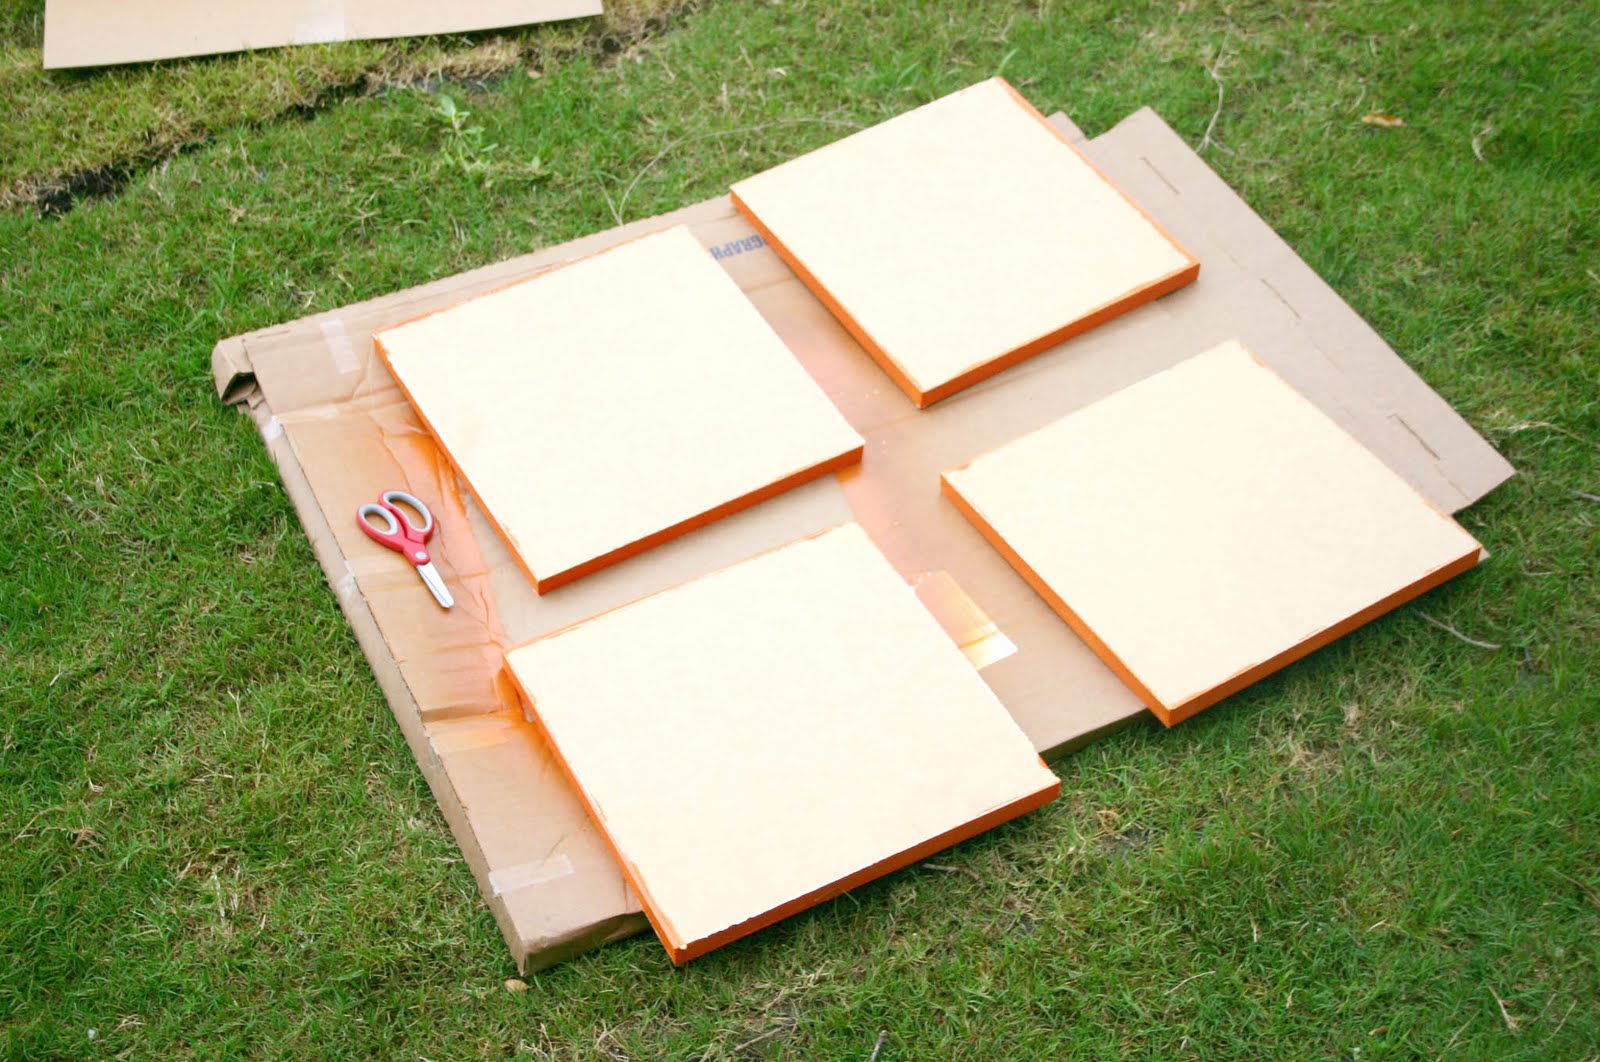
I slapped a layer of mod podge on the wood and on the picture (not sure why that is necessary, but I read to do both) and then rubbed it on with my hand. After it dried (20 min or so) I did a little sanding to the edge, wiped it clean, then mod podged the top.  It gave streak lines–sortof canvas like.  I messed up on the corner of my oldest son, but oh well.

My daughter showing how big it is next to her head.
I did also buy the orange spray paint (note to self, Joann’s sells the same can of paint for $8 as Home Depot does and it’s $4 there).  $21 total for the wood, pictures, spray paint, and had the mod podge on hand.
I feel oh so crafty…
Kristen Duke

Kristen Duke

Thank you for stopping by my little spot on the web! If you enjoyed this post, you can subscribe to my future posts via RSS, Facebook, and if you are looking to improve your photography, see my beginner books HERE.
Kristen Duke
Kristen Duke
Kristen Duke

Latest posts by Kristen Duke (see all)

Kristen Duke
Follow me on Pinterest

Don't miss a single post! Get all my posts by email subscription.

Join The Discussion

*

CommentLuv badge

Comments

  1. 51
    Infarrantly Creative says:

    Those are great! I just wanted to let you know about a product called Z-gel. That is what the professional framers use to give a canvas texture to poster prints. It is photo safe and used by places like Aaron Brothers, Deck the Walls, etc. Mod Podge is great for alot of things. I use MP all the time. But for photos I use Z-gel. Since you are a photographer you might consider looking into it. You can get posters made and mount them yourself for your clients instead of paying out the nose for canvas prints. Just a thought. I am posting about it tomorrow on my blog if you are remotely interested. P.S. I am enjoying your series on TIR.

  2. 52
    lorchick @ ON{thelaundry}LINE says:

    oh, very cute! The uses for this idea are pretty limitless, I might use it to decorate my playroom basement with pictures, but I think you could also decorate a nursery with pictures of toys or whatever too. You've got my wheels turning!

  3. 53

    These are adorable, were the pics glossy or matte finish?

  4. 54

    Hi, I recently bought wood to do this on, but I can’t figure out how to get my picture to a 12 x 12 size. I don’t have photoshop. Can that space that you added to a 12 x 16 be done in picnik, or something like that? I am at a loss as how to get my picture to the correct size.

    Any advice you can give me would be sssssssooooooo appreciated!

  5. 55

    Hi there! I tried this project with an 8×10 photo and I absolutely LOVED the way it turned out. I made them for family members for Christmas. One downfall…every single one of them bubbled!!! I’m devastated that I have to redo every one of them now. Maybe putting mod podge on both paper and wood makes a difference…because I just put it on the wood.

    • 56
      Kristen Duke says:

      Oh no! I’m so sorry to hear that! I have done this a few times with great results, but I have heard mixed reviews. Check out mod podge rocks.com and I know there is a video tutorial online somewhere.

Trackbacks

  1. [...] took a lot for me to say goodbye to my beloved green armoire.  Fortunately, it didn’t go far (now in my office with his twin sisters) but I just loved [...]

  2. [...] of my first DIY blog posts in June 2010 that really got attention was Decorating with Portraits~My first mod podge project.        It still gets lots of traffic thanks to pinterest! In that post I shared tips on [...]