Today, we’ve got Heather sharing a do-it-yourself Laptop Sleeve tutorial with paint and a foam stamp!
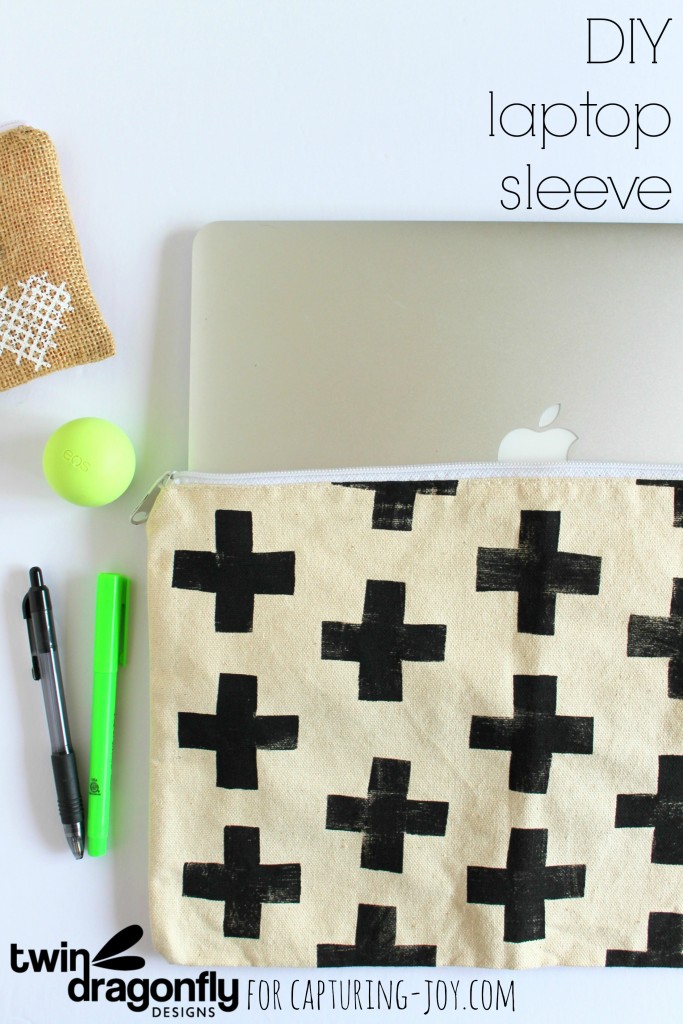
Hello Capturing Joy friends! It’s Heather from Twin Dragonfly Designs and I am so excited to visit you all again! Today I am sharing this do-it-yourself Laptop Sleeve tutorial with you. This is a fun way to personalized your own computer cover and give it some real personality…
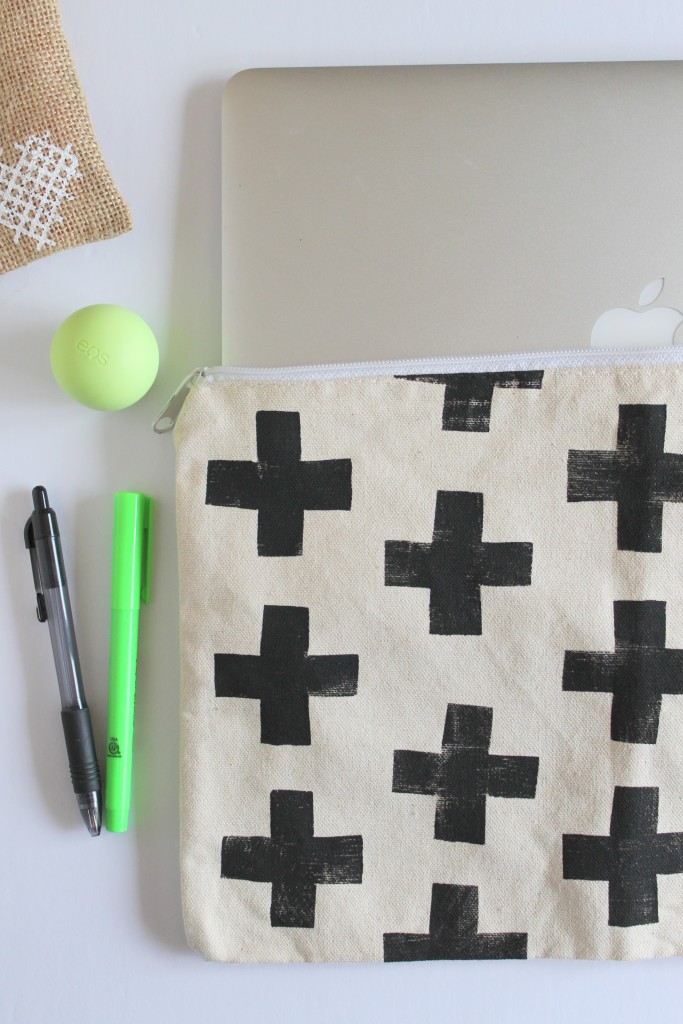
What I love about this project is that it works for nearly any neutral case, cover, tote, sleeve and/or pocket that you have for your electronics! All you need to start is a solid base that could use a little embellishing.
Materials:
laptop sleeve (I found mine at the thrift store but you can also get them at the dollar store or sew your own)
acrylic paint
foam brush
foam stamp
newpaper/paper
Directions:
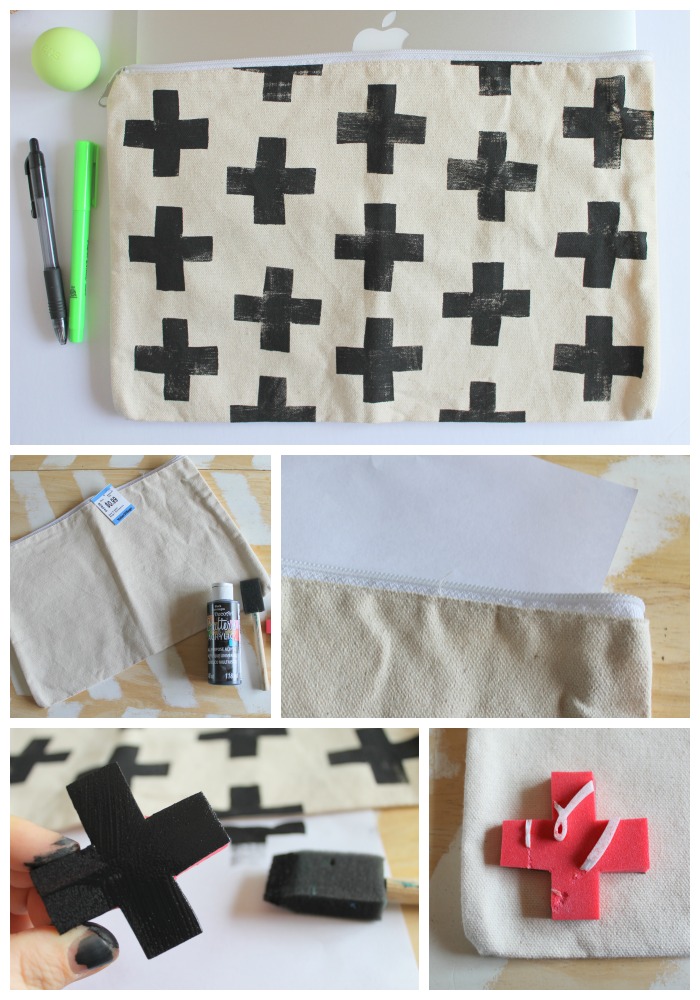
1. Choose a case/sleeve to embellish. Place paper in between the back and front of the sleeve so that the paint does not bleed through to the other side.
2. Select a stamp. I created a cross image by simply cutting an old foam stamp with scissors to get the shape that I wanted. Stamps can often be found at the dollar store or Michaels too.
3. Apply acrylic paint evenly to the stamp with the foam brush.
4. Stamp the fabric of the sleeve using firm pressure. Repeat the stamping process as desired.
Fun right? I wonder what else I have lying around the house that could use some embellishing….
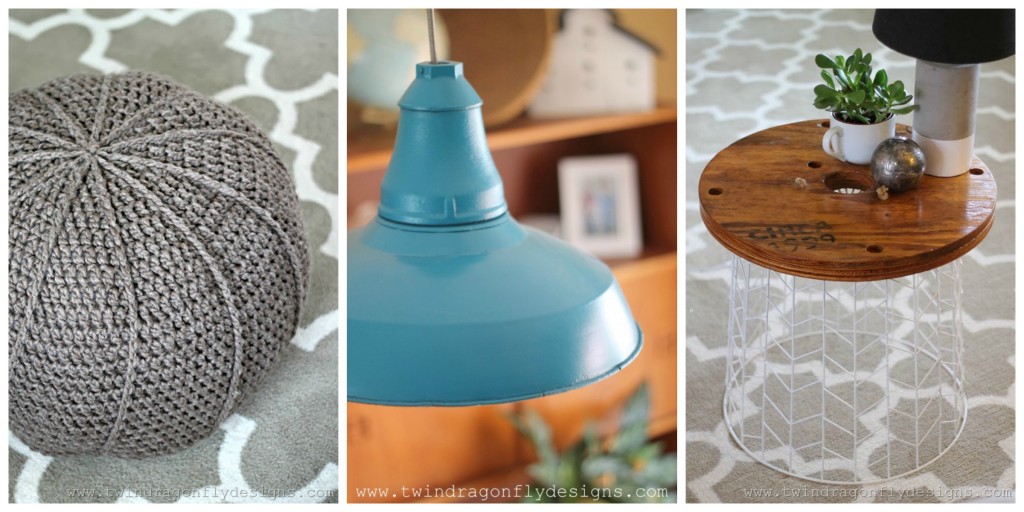
Crochet Floor Pouf | Upcycled Warehouse Pendant Light | DIY Accent Table
