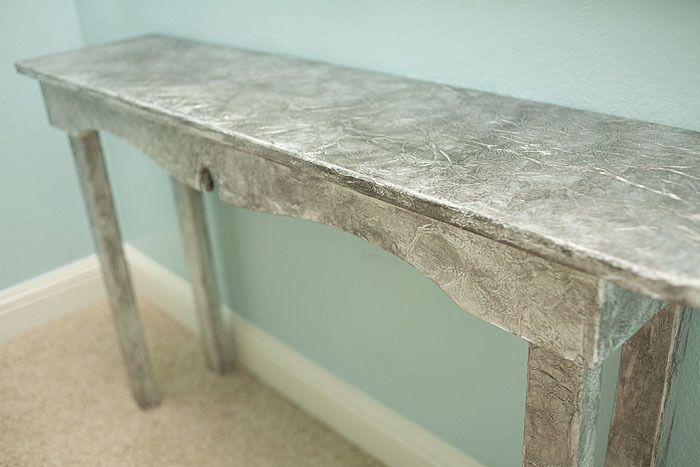
Yes, you read that right, I made a tin foil table using mod podge. Before you go thinking about how clever I am, I got the idea from my friend Mandi 2 years ago. She’s got a diy decor blog called Vintage Revivals, and I fell in LOVE with her tin foil nightstand from the get-go. Sounds strange, but the look is awesome! All you need it tin foil, mod podge, & a paint or foam brush. Here is how it all came together for me.
I had this old table that we had stained a few years back. It didn’t really have a home, and kinda fell into my office. I thought it’d be the perfect piece to try out my long awaited dream of tin foiling furniture!

I carefully measured and crinkled out my pieces of tin foil, all ready to apply to the table.

Then had my willing and trusty assistance start adhering the mod podge to the table while I finished prepping the foil.


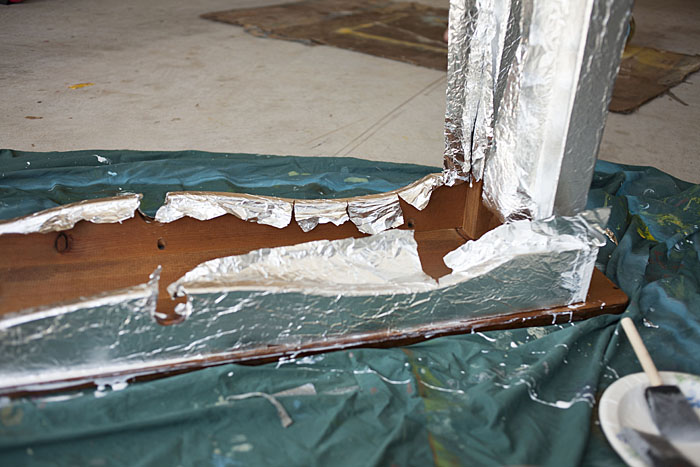
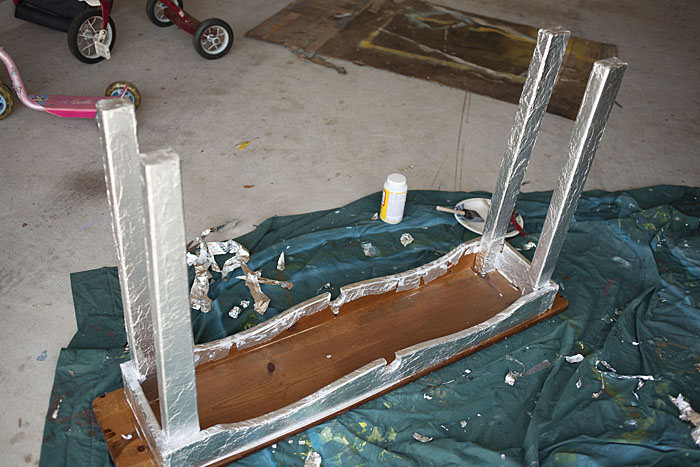
Really, the mod podge part can’t be messed up. I just pointed out a few drips, and they were gone. I started with the legs  and wrapped foil around it like a present…smoothed as I went. I just got home from a workout, and figured I shouldn’t shower since I was in my garage on a 100 degree weather day.
  You can sorta tell from my face here, that it’s HOT outside!
 My girls came in and out of the house with popcycles to watch me after a while. Here are some close ups of the wrapping progress

It got tricky at the curved edges, I just slit them and wrapped them around. Even if a spot got messed up, I just waited til it dried and patched it up with a small piece of tin foil. Can’t even tell.


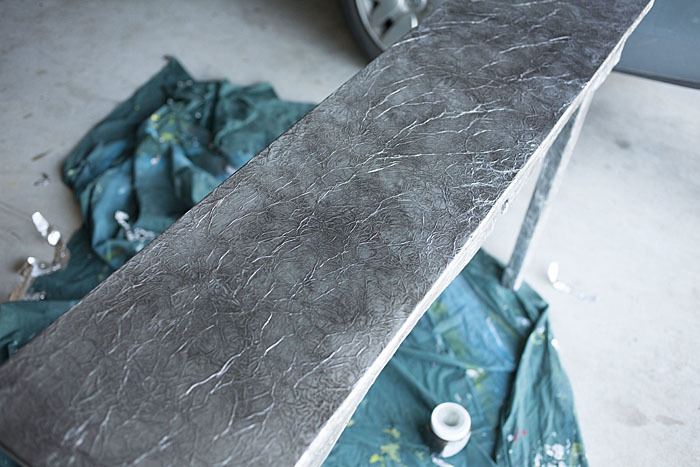
After I had applied the tin foil pieces to the whole thing, I applied a coat or two of mod podge on top to seal it. I found an aerosol can of mod podge that I coated the very top with, so there weren’t as many streaks. Once that dried nicely (not long in the Texas heat), I wanted to darken the wrinkles just a touch. Luckily, I had this black Martha Stewart metallic glaze on hand, just waiting for a project. Got it at Home Depot. It’s small, fits in the palm of my hand.

Then, after it all dried, I applied one last coat of mod podge for an extra measure of durability, and her to her new home in my office!


I get to stare at it and smile from the comfort of my custom yellow desk my hubby built for me. So what do you think….crazy or cool?


