Welcome back Carrie, my photography contributor! I’ve purchased Project Life over a year ago with plans to do something, and haven’t actually started yet, I’m excited about this post to jump start my excitement all over again! –K.D.
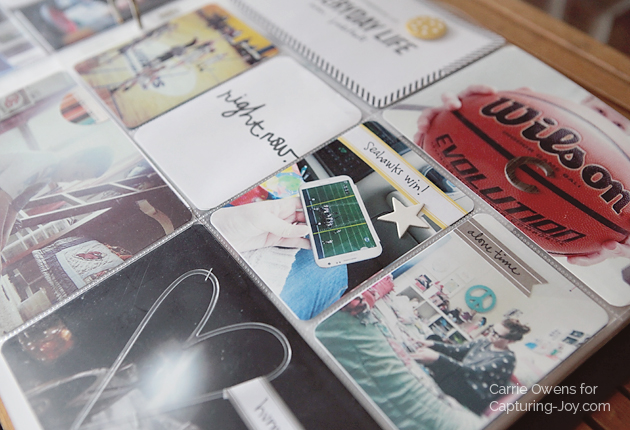
I’m so thrilled to be here for my second post to talk about something that is near and dear to my heart….memory keeping. Project Life® is a product and memory keeping system designed and developed by Becky Higgins. To learn more about the history of this amazing product, please go check out her site and blog. Today, I’m sharing my Simple Steps to Memory Keeping with Project Life®
I think stories are important. The story of myself, my children and my loved ones. I think that it is important to document those stories and in order to do that I use Project Life®. Years ago I was a scrapbooker in the more traditional sense of the word, but my life is different than it was in those days and I needed to find something that worked better for my life. For me, Project Life® fit the bill. Keep reading for some tips and tricks as well as some great inspiration sources at the end of this post.
Think that scrapbooking and memory keeping isn’t for you?
Have you ever wondered about Project Life®? Do you see posts on Instagram or Facebook about people raving about how Project Life® has changed the way people document their lives? Have you thought that scrapbooking wasn’t for you? Too much time, too much money, too much “crafty”? That’s exactly why Project Life® can be for you…because it’s all about you. Project Life® is amazing and the best thing about it for me has been the fact that I can make it what I need it to be for me and for my family.
What you need to get started:
As a self proclaimed stationary lover, I’m a big fan of the paper stuff. I have lots of it, lots of pens, stickers, chipboard elements and more. But it doesn’t have to be that way. There are lots of ways to get started with Project Life® and you can even go the digital route if that is something that is more suited to how you work.
THE BASICS:
- An album
- Page protectors
- Photos
- Paper (inserts)
- A pen
That’s really all that you need. But…
THE FUN STUFF:
- Core Kits
- Monthly subscriptions
- Alphabet letters
- Chipboard (thin cardboard) elements
- Stickers
- Stamps
- The list is endless
How to get organized:
In 2013 I got behind (it’s kind of what I do) and I didn’t have a plan to help with that. So I have a years worth of cell phone and big camera photos in a big folder called “2013”. I knew that before 2014 started I needed to set up a plan to get myself organized.
- Have an area where you know you can store your stuff…make sure that it’s easy to get to your things and that it’s not too cumbersome to get everything out. Remember, we want this to be easy.
- Have an area where you know you can work on your album. If you have a space that you can dedicate to your Project Life® supplies and work time, that’s awesome, but if not, make sure that you have a spot where you can settle in. Even though I have an office with lots of room for working, I often times find myself at the dining room table so that I can focus.https://www.kristendukephotography.com/wp-admin/post.php?post=24682&action=edit&message=10
- Have a system on your computer for organizing your photos. My folder tree on my computer looks like this: My Pictures > 2014 > 01-dec 30-jan 5 > dec 30 > photos for that day. Yes, I have a folder for each day, because sometimes I take a lot of photos in a day – or sometimes none. When I import my photos to my computer, I make sure that I check the box to create a sub folder with the shot date of the image (yyyy mm dd). This helps jog my memory when it’s time to start working. Before I started my 2014 year I made the decision to start my weeks on Monday and go through Sunday so that I would have a full weekend contained on a spread, each week is numbered 01-52. Big important tip: BACK UP YOUR PHOTOS. Really. Do this please. Back up to an external harddrive, to DropBox, to the cloud. Anywhere. But back those photos up. (go do it now.)
- Print your photos. Determine which way is going to be the easiest for you. There are apps on your phone that you can use to print and have your images shipped directly to your home or you can use other print labs. I print at home (I have an Epson Artisan 50) and I’ll usually print out a few weeks at a time. I have created a couple of templates in Adobe Lightroom so that I can drop my photos in and print them out in the sizes that I want for my week.
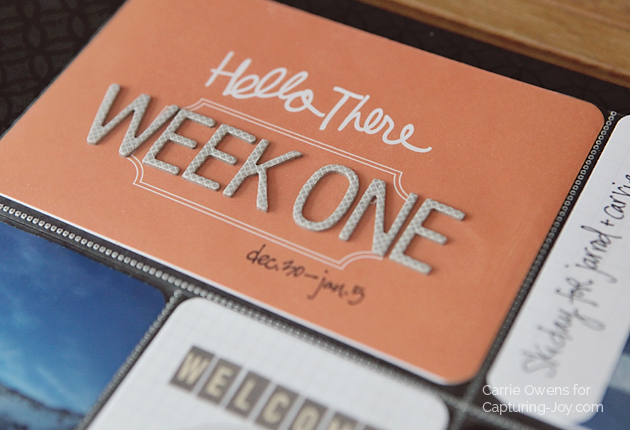
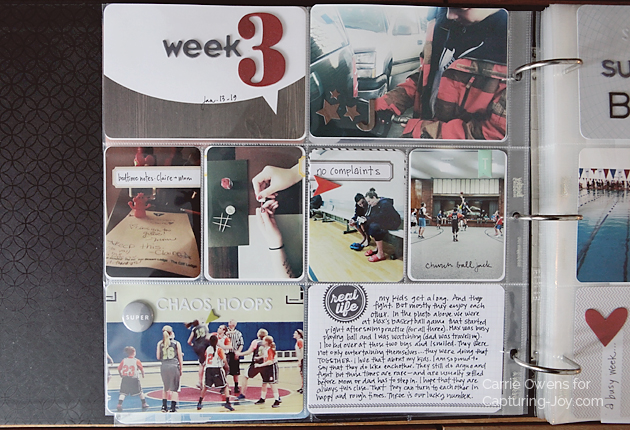
- Have your album ready to go…if you can. I’m a pretty simple girl and I use all of the same style of page protector. There are several different options and if you want to switch it up, by all means, do so. I can’t think that through, so I use Design A for every single week. Takes one step out of the thought process for me. Next year I might be switching it up (I’m wishing they had a big pack of Design U, that’s my new favorite). I have a sticky note on each spread telling me which week it is (with dates) in case I get behind and want to start somewhere in the middle and catch up later. You can do that.
- Start. Just do it. My first year of Project Life® began around this time of the year. I ordered all my stuff, it all came in the mail and I was so excited for the first of the year so I could get going on it. And then I realized that I didn’t have to wait. No one says your album has to start the first week in January. Just start.
What if you get behind? How to get back on track:
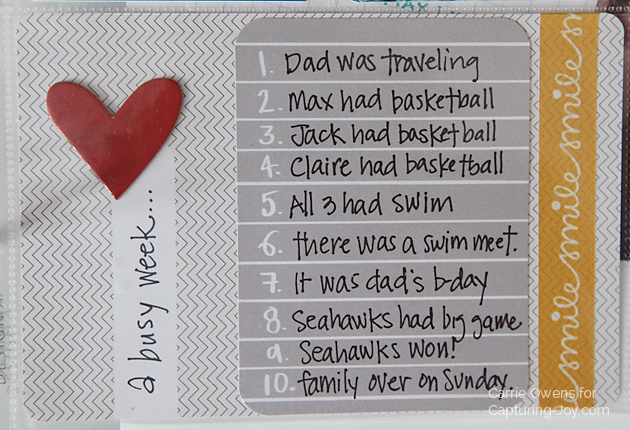
So…it’s November and I’m kind of behind with my Project Life® album. But guess what? I have a plan for that. Am I planning to fail? No…I’m planning to succeed. Planning to not feel guilty when life gets in the way. After all, it’s life that I’m documenting and if I’m not living it, then what do I have to document? There should be no guilt with Project Life®. You need to find the way that it fits with your life and go for it. But start. Don’t wait.
As I mentioned above with my photo organization, I have all of my photos from my phone and camera all stored in folders on my computer. When I have the time to work, I pick the week I want to start with (either where I left off, or last week) and print my photos and go. What about the little life details that you want to document? What if you can’t remember why you took that super cute photo of your little one…what good is the photo without the story? It’s still good, believe me. But in order to remember those little stories, I do several things (not all at the same time). I check back through Facebook. Did I Instagram or Facebook that photo? What did I say about it then? What about my planner? Did I write down notes there? If you have an Iphone, there is an awesome app called Momento that pulls all of your social media feeds and you can also add notes. I loved this app and have not yet found one that works well for Android devices.
Inspiration sources:
There are tons or resources out there to get inspired with your Project Life® work. If you are on Instagram, go in and do a search for #projectlife or #projectlife2014 or #beckyhiggins and you’ll find lots of great users with shots of some of their work. If you’re on Pinterest, do a search for Project Life and you’ll find a ton of amazing work there.
Follow Carrie Owens’s board project life inspiration on Pinterest.

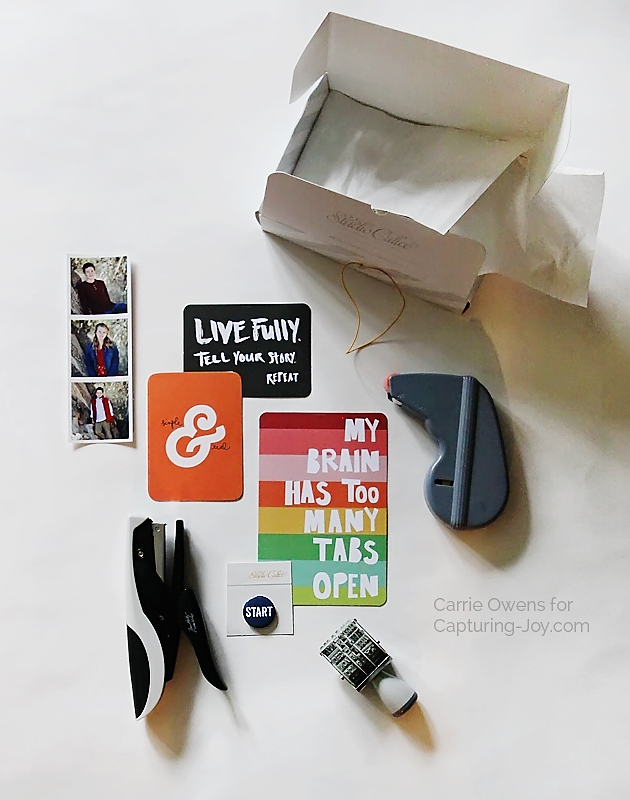
Favorite products:
As I mentioned earlier, you can make Project Life® as easy or complex as you want it to be. Some of my weeks are pretty simple, and others get a little more involved. I like the ability to create little mini layouts on some of my pages and you can check out some of my favorite products below:
- Becky Higgins core kits
- Studio Calico monthly subscription
- American Crafts Thickers
- Mini stapler
- Corner Rounder
- Pens
- Stamps
Needing help on what images to include in your Project Life® album or not sure how to document those everyday moments? Go check out my 31 day series on how to document your everyday life.
For more Project Life® inspiration, check out these posts:
why project life® | july project life® | project life® title page
