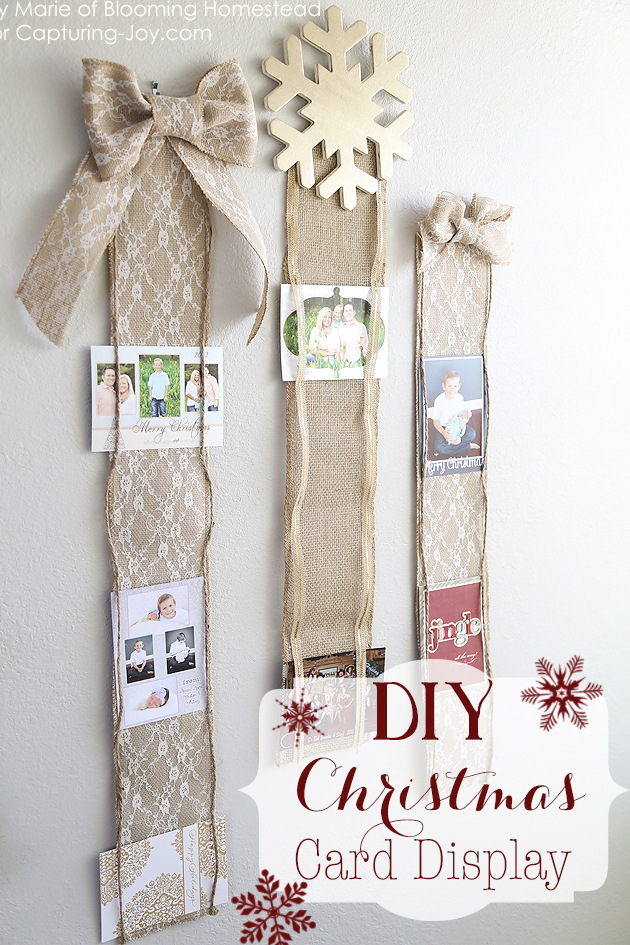
Hello friends! I am excited to be back at Capturing Joy sharing this fun DIY Christmas Card Display. It’s that time of year when our mailboxes become full of photo cards from our dear loved ones near and far. I wanted to come up with a fun, space efficient way to display them besides just sticking them on the fridge like I normally do. I put together these burlap hanging displays in under 1/2 hour and today I am going to show you how to make your own.
To start, you’ll want to gather your supplies.
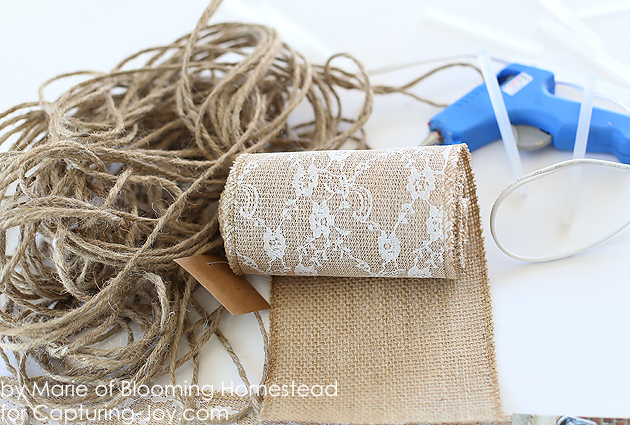
- Wide ribbon (5″wide) , fabric, or burlap-I found this lace burlap at Hobby Lobby in the floral section.
- Jute or 1/4-1/2″ coordinating ribbon for sides
- scissors
- hot glue
- measuring tape
To start, you’ll measure out your wide ribbon, burlap, or fabric for the height you want your card display. I chose to make 3 displays at different lengths for visual interest, but also so that I would have enough space to display the cards we received. Depending on where you are hanging your display you may want to go longer or shorter depending on the space you are filling and how many cards you want to display.
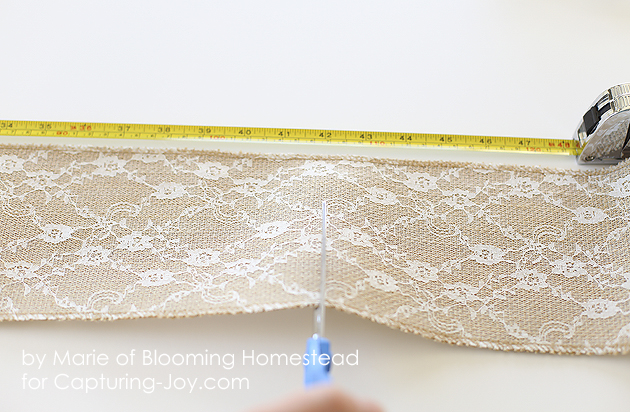
Once you have your main backing cut, you’ll measure your jute or thinner ribbon along the outer edges going down the backing. Cut 2 strips, one running down each side the same length as the backing.

Starting at the bottom, you’ll use a dab of hot glue to adhere each ribbon or jute piece down to the backing piece. Since most photo cards are standard 5×7 sizes I chose to use an old card of ours as a measuring point. Most other sizes will hopefully fit in the gaps provided but if you are concerned you can measure it accordingly. I measured mine to hold both vertical and horizontal cards.
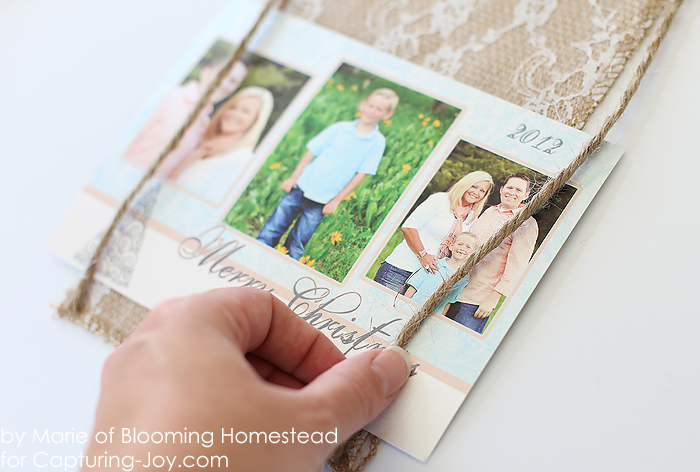
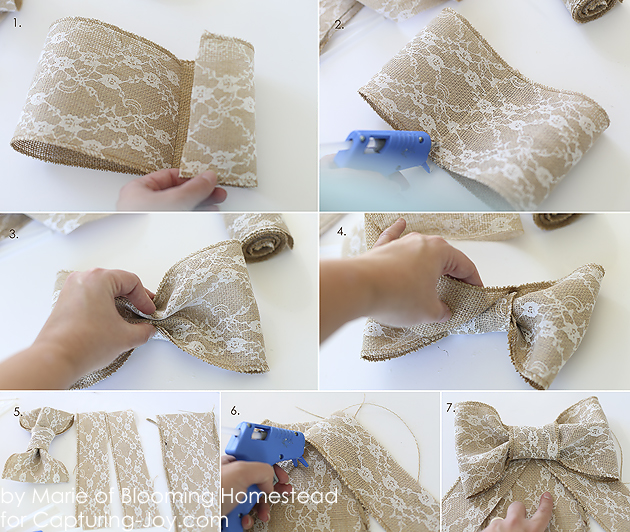
Use hot glue to tack down the side pieces of jute as you move up the backing leaving openings where the cards will slide through. When you reach the top you can make a bow or use an object like this chipboard snowflake to decorate the top of the hanger. To make a simple bow, (1,2) I used a small section of the same wide burlap lace folded over with hot glue. (3) Scrunch it down in the center and (4) wrap a small cut piece around and hot glue to secure. (5) Cut a strip of the same burlap lace in half and (6) glue it down as tails to the bow. (7) Now attach the bow with hot glue. Gently glue some thin ribbon on the back of the bow to act as a hanger.
And now you have a super easy and cute DIY Christmas Card Display.

One of the best things about these are they fold up quite small for easy storage! I’d love for you to stop by Blooming Homestead to check out some of my latest projects.
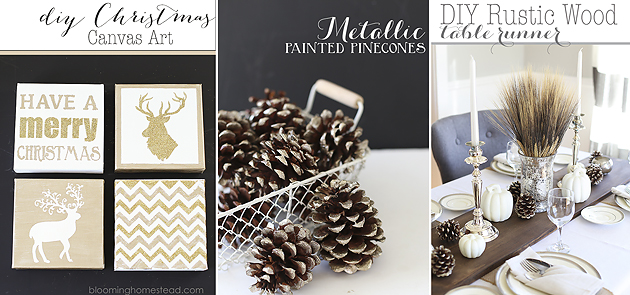
DIY Christmas Canvas Art | Metallic Painted Pinecones | DIY Rustic Wood Tablerunner
To see more Christmas family ideas, click on this link or on the image below!