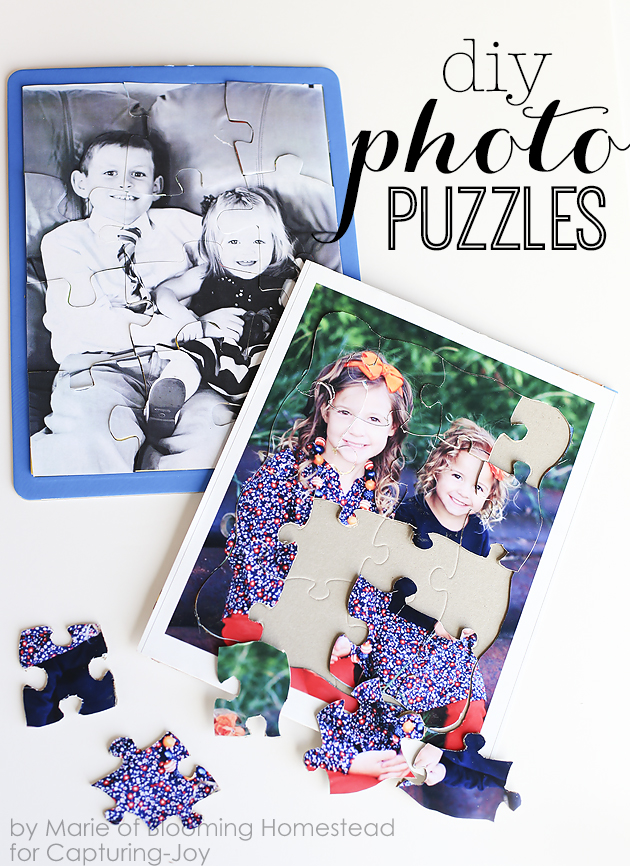
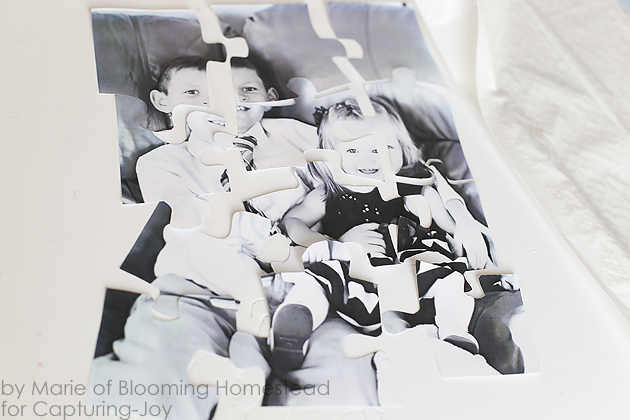
Hello Friends! It’s Marie from Blooming Homestead here to share a fun craft with you today. Did you know that January 29th is National Puzzle Day? In honor of this fun little holiday I decided to share this tutorial on how to make DIY Photo Puzzles. Not only are they a fun way to preserve memories, but these would also make a great gift!
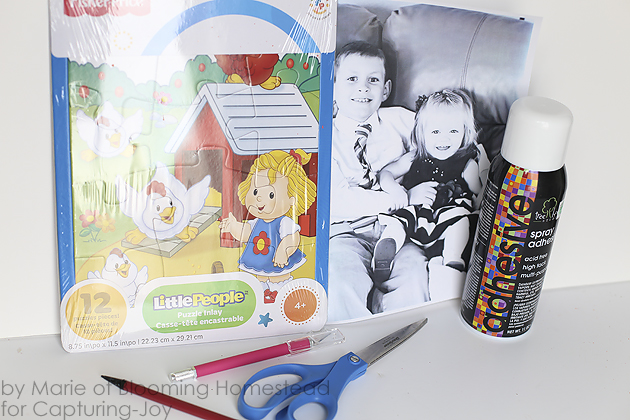
Here are the supplies you need to get started:
- 12-16 piece Puzzle (I found these at dollar store)
- Photo printed to size of puzzle
- Acid Free Adhesive (Something that won’t harden and warp the photos or puzzle)
- Scissors or craft knife
- pencil
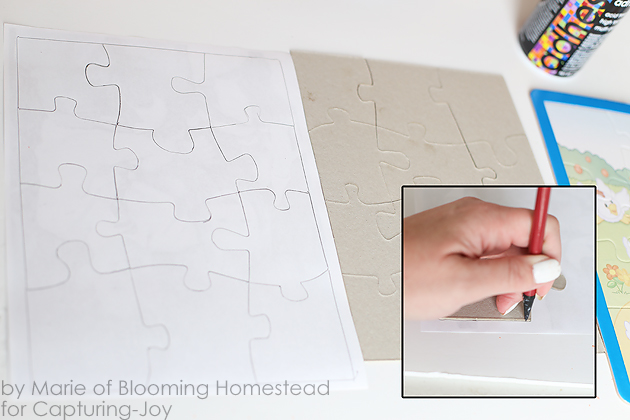
As a heads up…I would not recommend this project for kids. It requires a bit of precision and patience. :)To start, you’ll want lay your photo face down and place the puzzle on top, remove the puzzle backing leaving only the pieces in place so you’ll know where to trace your pieces. Trace the border around all the pieces. After your border is in place you’ll start tracing each puzzle piece separately. Be sure you line them up so that when you cut them they will be sized to fit. Remember the more precise you are the better your puzzle will look and the easier the pieces will fit together.
After you have your pieces all traced it is time to cut them out using scissors or a craft knife. Be careful and go slowly to stay on the lines and not cut yourself.
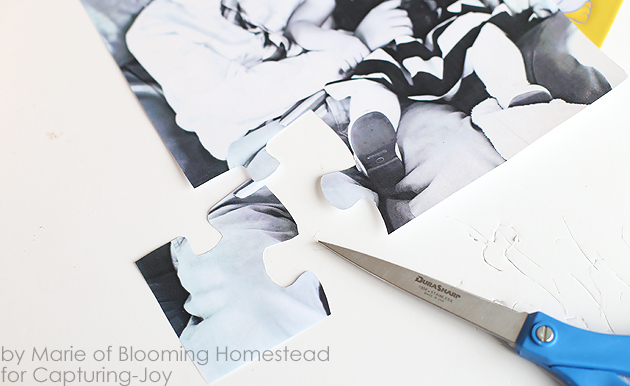
After your pieces are all cut it is time to adhere them to the puzzle.
I used a spray adhesive and laid out my puzzle pieces together on a trash bag and sprayed them generously with the adhesive.
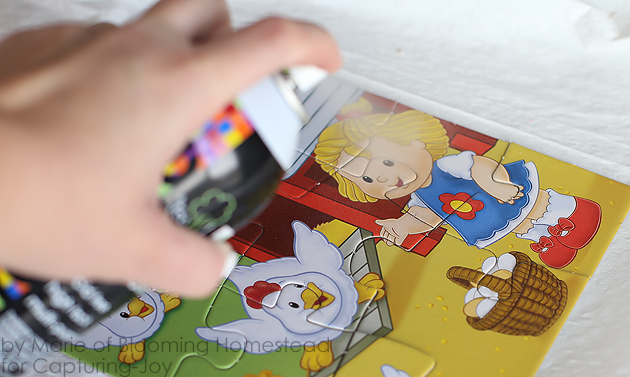
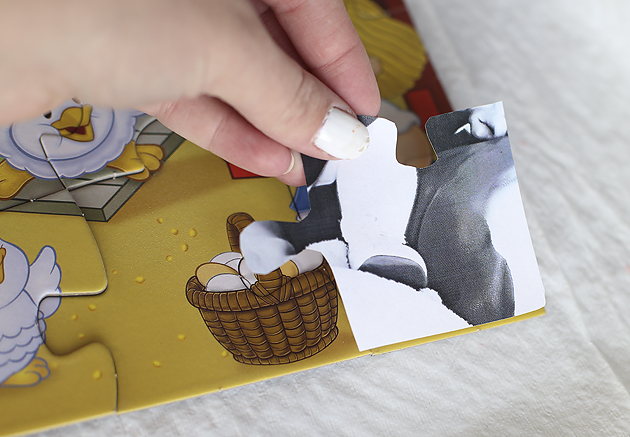
Working fast, but precisely, attach the photos to their appropriate puzzle piece. (If the adhesive dries or loses its tack just spray or roll more on as you go).
Let your puzzle dry and you’ve got super cute, fun, and affordable personalized diy photo puzzles!

I’d love for you to stop by and see what’s going on at Blooming Homestead. Here are a few of my latest projects.
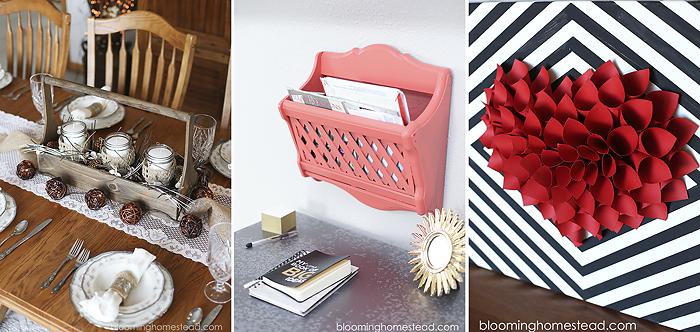
Mail Organizer Makeover | Rustic Wood Centerpiece | DIY Heart Wreath
