For photo tip Tuesday this week, I’m refreshing an older post, that I think people are still craving tips on silhouettes! I LOVE a great silhouette, and it took me quite a while to really figure out how to take them consistently. The secret is to expose for the sky. If you aren’t shooting on manual mode, do it! You will have more control of your camera and it’s settings. If you need help with that, check out Say NO to Auto. This was originally posted in April 2012 (dang, that was FOUR years ago!) Hopefully these tips will help some of you out there.
*28-75 lens ISO 125 f 7.1 ss 1/800
Above is one of my favorite shots of my kids that I’ve taken recently. But there is just ONE thing I don’t love….that I can’t see the full profile of my youngest. Silhouette’s with more than one person are tricky in this way because it is nice to see the facial profile of everyone if possible. But, I can see her body outline, I know it’s her, and seeing just the shape and height of my kids in this artistic form is special to me. So it was printed BIG for my home;) We were at an aquarium, and there wasn’t a sky to expose for, and the tank was bright, but not as bright as a sky would be, so it took a little fiddling to get this shot. I exposed my settings for the brightness of the tank WITHOUT the kids, then re-focused my shot with them, and got the shadow.
My most frequent silhouette shooting is for a maternity session. Most women who have maternity shots taken (myself included) don’t care for the face fullness that comes with 36 weeks of pregnancy. Silhouette’s are the most flattering, and show off the shape of the belly (the point of the session), so it’s a win/win. Here are two different types of settings for silhouette’s.
1. Subject in the shade
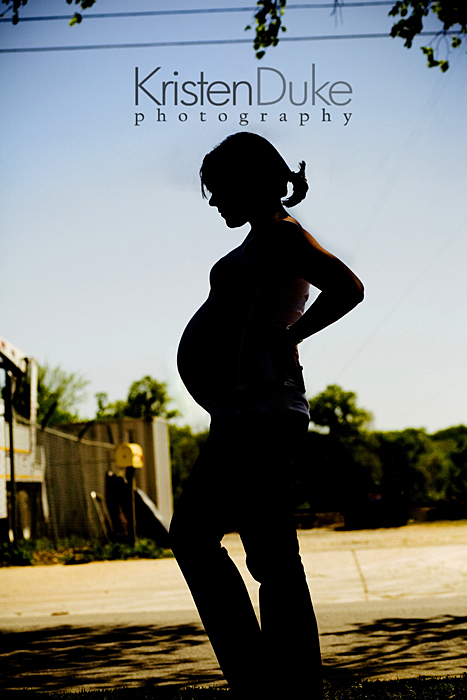
*85mm lens *ISO 125*f 5.0 *ss 1/5000
In the above shot, the subject is under a tree. It was broad daylight, and my best option was to be in the shade and shoot out to the sunlit spot. At first, I was bugged by the “stuff” in the background, then decided I like the urban feel of it. She ordered this as a larger wall print, so she liked it, too! *Important–if you are in an urban scene, or just not an open field, you will have to get super low to the ground (I’m talkin’ ear on pavement) to separate the person from the stuff in the background. You gotta look for an open space in the shot, so the subject doesn’t blur into the buildings, etc
2. Subject at Sunset–open field
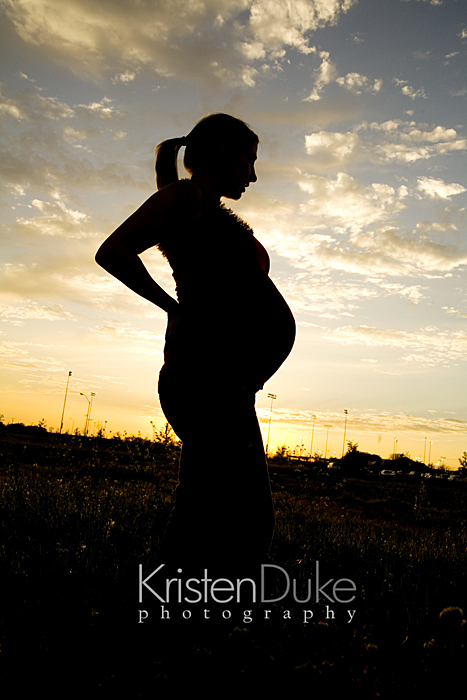
*28-75 lens at 68mm*ISO 200 *f 9 *ss1/250
The above shot was in the evening sun, and I had no shade to do what I did before. The sun was so low, so I positioned her right in front of the sun so she blocked it from me. I think these type of shots are always so beautiful if you can catch even a little of the sunset color. It can often be enhanced in photoshop, too.
In both cases, when you shoot a silhouette, set your manual settings as if you were shooting the bright sky without someone in front. I often start with an ISO around 100 (it’s a bright sky) and set my f-stop way up to a 7.1 or something I would never standardly photograph with for a single person for portraits. Take a sample shot to expose for the sky, and adjust the shutter according to what the sample shot shows. When you see good exposure for the sky without the person, put the person in and take another–same settings. You still may have to play a bit, but that is a great start.
3 extra tips for maternity silhouette’s:
1. Position their arm awkwardly back so it doesn’t look like they are an armless woman
2. A ponytail helps to see the facial features, and neck instead of a big blob behind the face
3. The second hand should be out of site, straight down by their side, or it can look odd
Editing your silhouette:
I almost always will edit my silhouette shots by darkening the shadow a bit (there are sliders in Photoshop and Lightroom for this) and sometimes brightening the background. I’ll also often saturate the color to make sunsets more colorful.
Here are a few more examples of silhouette’s
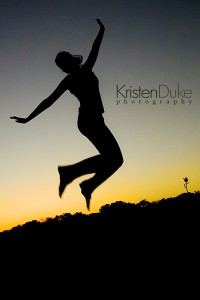
This is from Lauren’s Senior Portrait session recently. Jumping shows the excitement of the time, and captures this teen in a fun way.
Silhouette’s with couples are always quite romantic. I like to have them look at each other and put their foreheads together….I enhanced the yellow in the background quite a bit for a dramatic effect. 
Below, I took this family silhouette of Reachel at Cardigan Empire’s family in Arizona (see more here). Though I can’t see the baby face, I like that he is being playful with his limbs, and shows character. 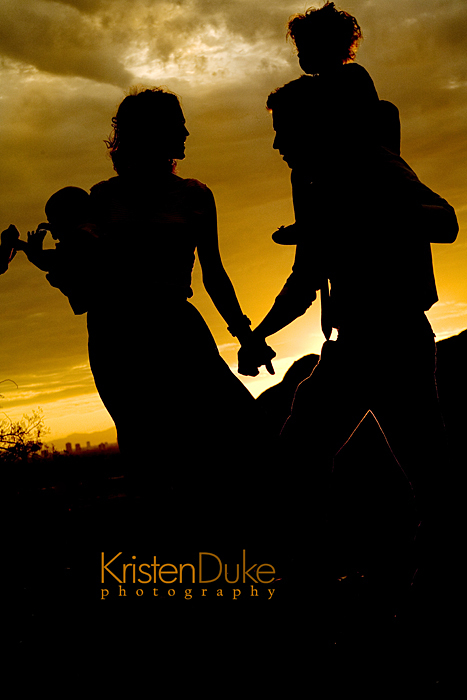
Lastly, here is my fam in California last summer. This was taken by my awesome friend, Shari Hanson, and edited by me with my logo for Internet protection.
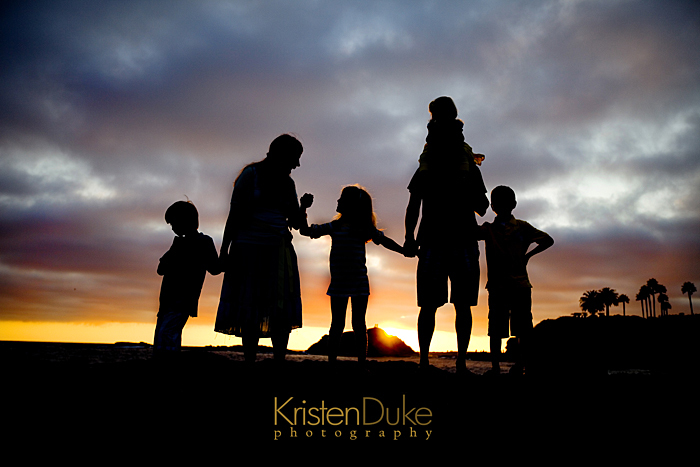
My baby is on my hubby’s shoulders, because she wouldn’t sit still enough on her own. It’s hard for most to tell its her up there (and not that my hubby is a giant ogre) but that still didn’t stop me from printing this in our home. LOVE the mood a silhouette shot brings. Hand holiding is great in a silhouette family shot…or jumping can be fun, too.
Have you had troubles with silhouette’s? Do you love them like I do? I hope this helps!!!
If you’d to join the Capturing Joy Photo Club on Facebook, where we have photo challenges, Q&A’s, and image sharing, request to join HERE: https://www.facebook.com/groups/CapturingJoyPhotoClub/


