Merging Multiple Images Together

This Site is a participant in the Amazon Services LLC Associates Program, an affiliate advertising program designed to provide a means for sites to earn advertising fees by advertising and linking to Amazon.com.
How about some photo tips?
Here are 2 self portraits I took. One in the mirror because I was happy to squeeze into a skirt that I got 6 years ago and can wear it again (hooray).

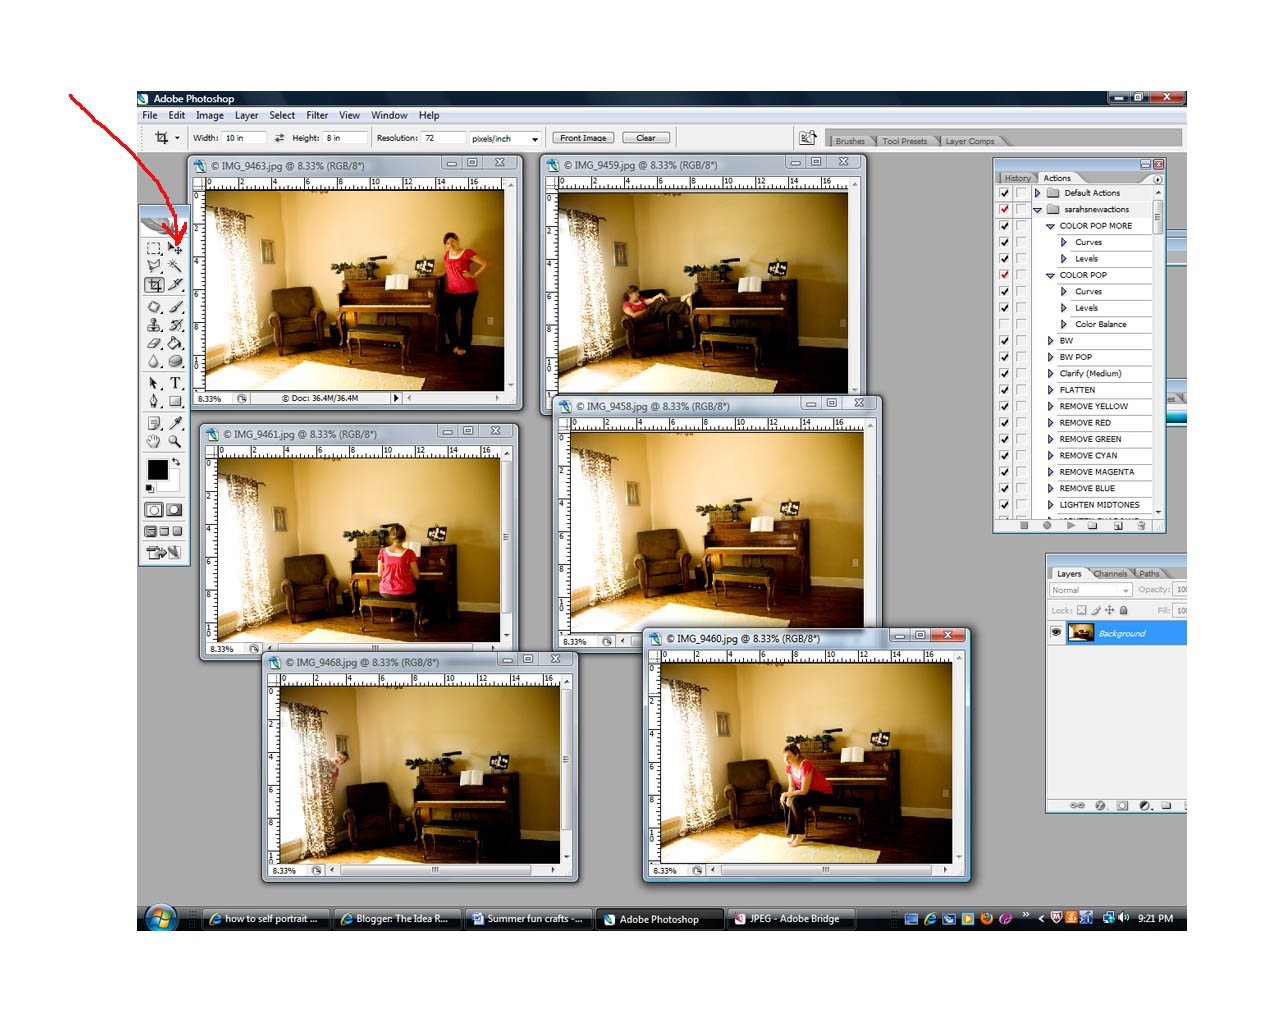
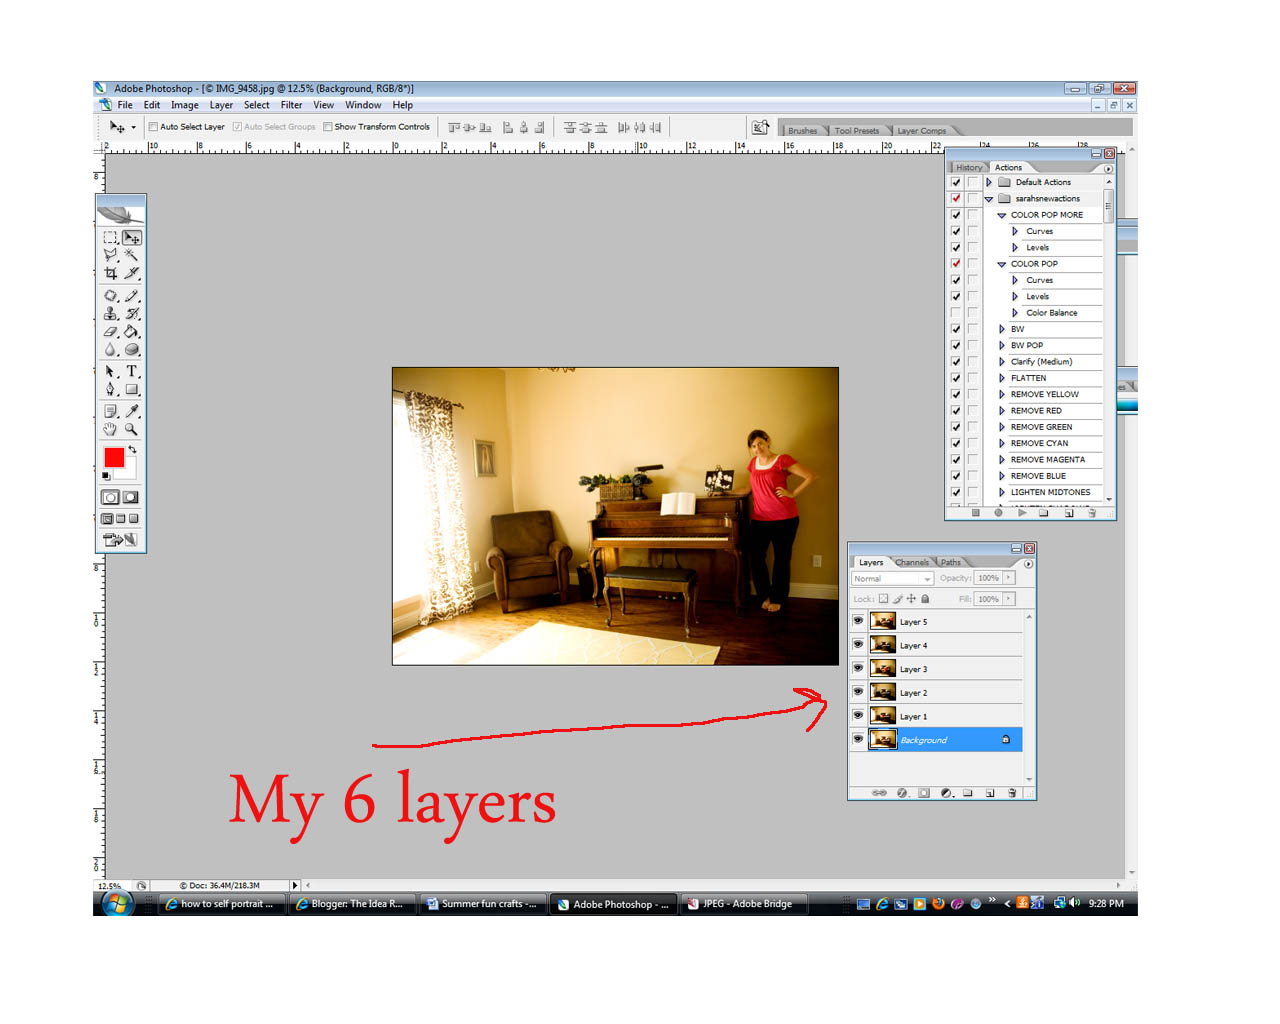
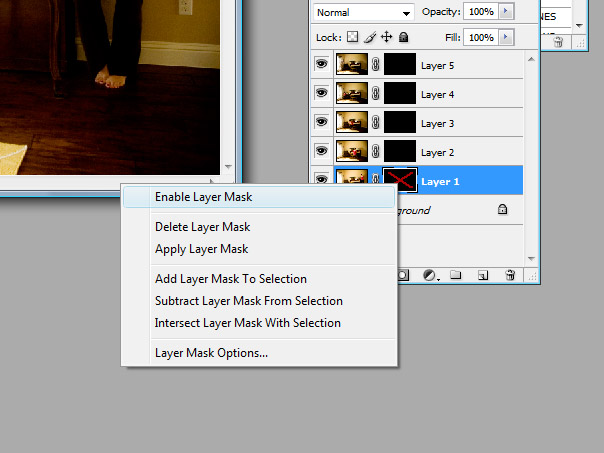
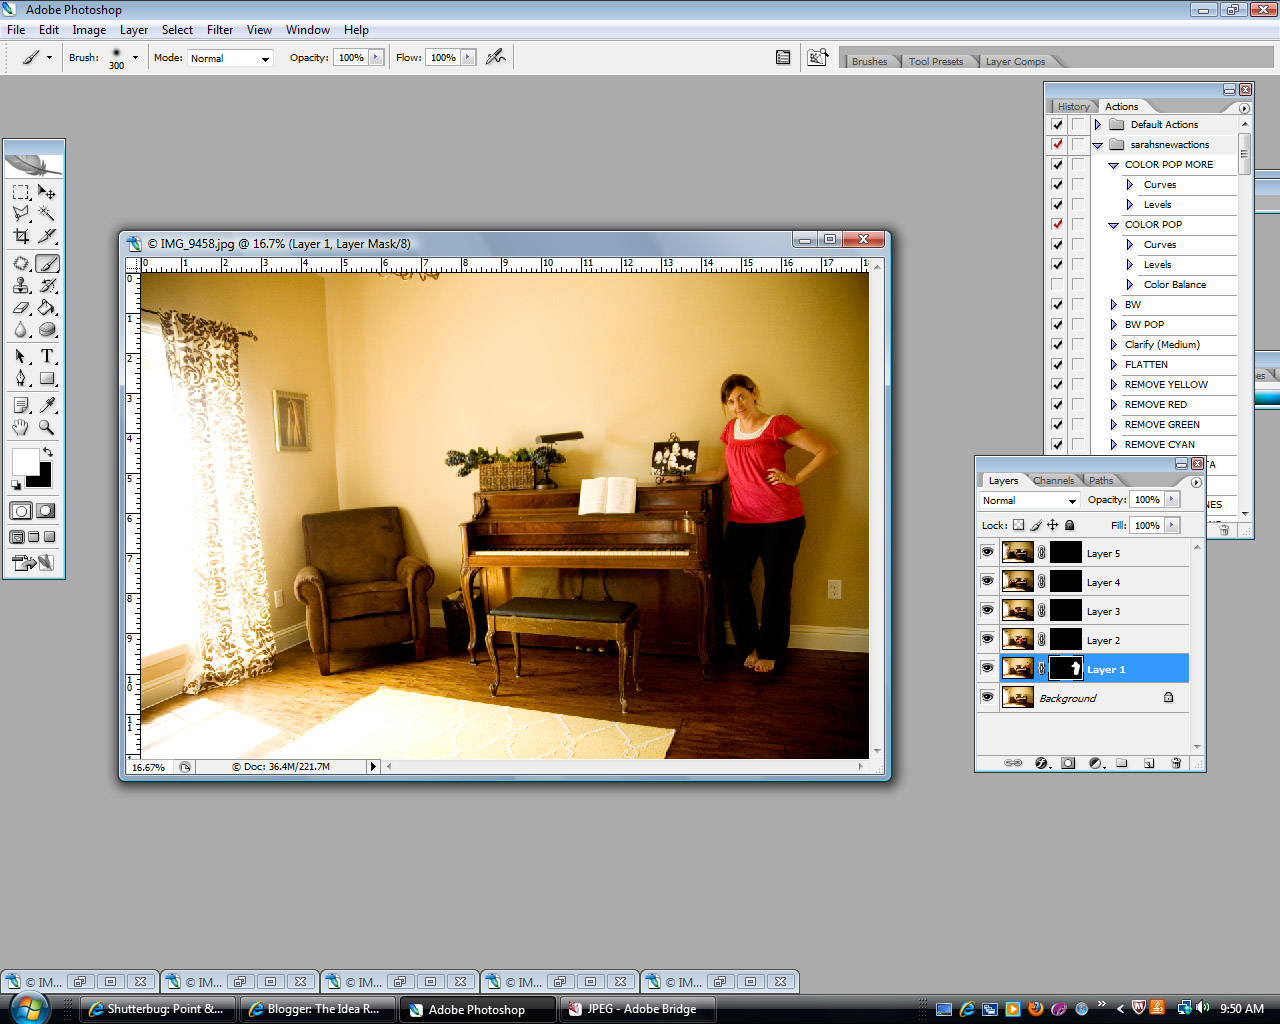
Then, I learned how to merge images from my friend. It was so much fun to be creative with my photography and do something FUN! I did use photoshop for the merging.

Here is my quick little schpeel (no clue how to spell that) about being in pictures: Do you want your family to have  memories of you because you are always the one behind the camera? NO! Neither do I. I am often handing my camera to my husband and saying, “please document me at this event.” I want to be there in the photos, too! Do I feel silly/vain/annoyed passing the camera over because I wish he’d think of it himself? YES! But I do it anyway because I want to be represented (I just did it for my daughter’s birthday party pictures, here). I want my family to remember that I was present in their lives through the images they will view years from now. Am I always happy with how I look (weight, make up, hair, clothes)?  No.  But I don’t let that stop me. I want to be remembered the good, the bad, and the beautiful. I want my daughters to know that I wasn’t always picture perfect, because that wouldn’t tell a true story of my life, and I want them to realize that mom isn’t perfect (and they don’t have to be, either).

Plus, I always say that if I don’t like myself in a picture, that is incentive to do something about it!  Lose the weight, cut the hair, take 10 seconds to put on eye liner on every day–and then make sure I get pics of myself on those days:)

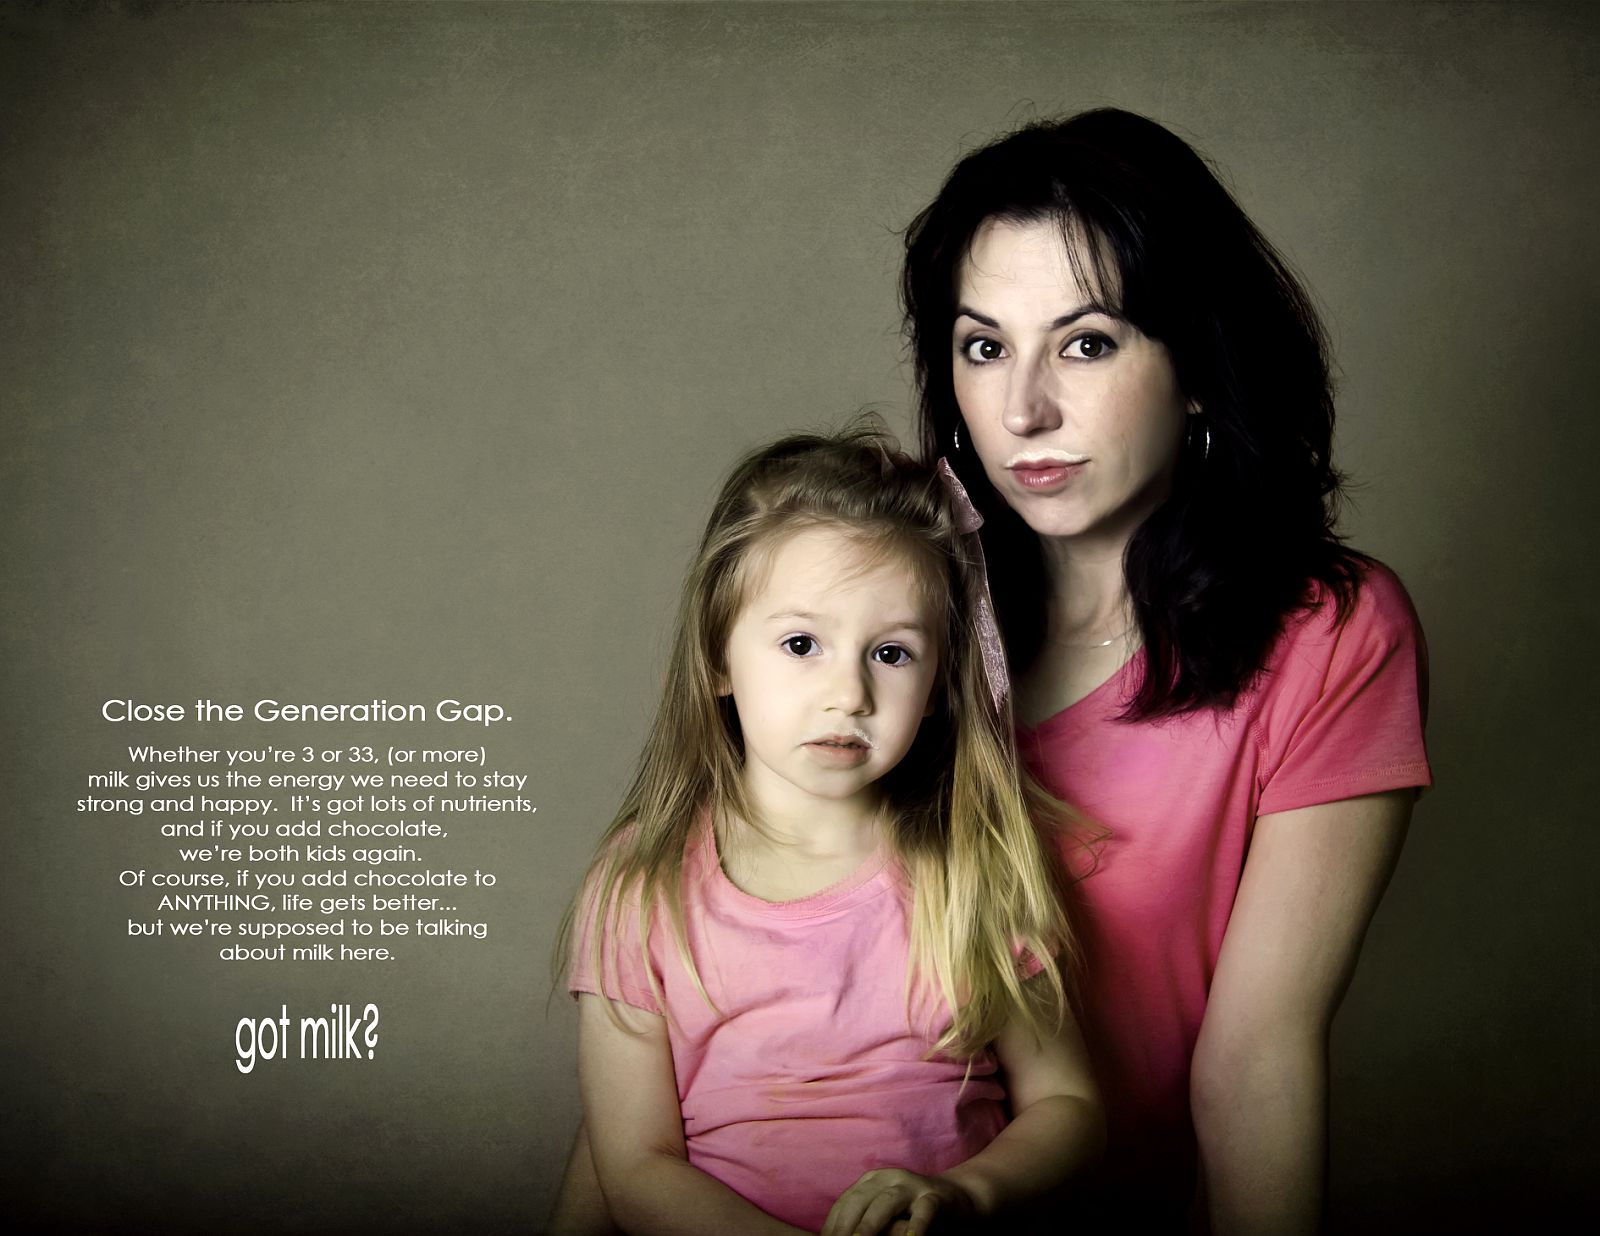
So now that I’ve got that out of the way–I will get off my soapbox.  Let me tell you about my friend, Julie.  She is an amazing photographer who constantly pushes herself to learn just because she wants to get better.  She doesn’t even do it for money, just for fun!  Do you want to know why I will forever LOVE her?  Because she took these for me:

Yes, she was in the delivery room with me when I had my 4th baby.  The MOMENT she captured above with my baby and me, is one of my very favorites.
But anyway, she is the QUEEN of fun self portraits!  She taught me how to do this:
This is how you do it: (This requires photoshop, but scroll to the bottom for my challenge/giveaway if you don’t do the photoshop thing).
1.  Set up your camera on a tripod
2.  Helpful to have a remote, but self timer button could work, too
3.  Pick a spot and take a pic with only the furniture, etc. in it
4.  Take several more pictures of yourself, in varying spots in the room–trying not to overlap
5. Head on over to photoshop and merge them
Merge–you say?  Yeah, Julie taught me how to do that.  I opened up 6 images in photoshop:
You want to use your “blank” image as your main image.  In this case, it is the image without me in it.  I use the “move” tool (arrow points) to move each image on top of the main image.  I click on image #2 with my mouse and while holding down the shift key, drag that image on top of my main image (if you don’t use sthe shift key to help move, it won’t line up evenly).  I do this over and over with all the rest of the images.  Until I have 6 layers in one.
You then click on each layer to make a layer mask.  So click on:
Layer 5+Alt key+click on layer mask below the layers (square with circle in it).
Repeat this with each layer except the background/original/first image.
You want a BLACK box to appear next to the image layer.  If you get a white box, you need to change it to a black box (ctl+i inverts).
You are now going to go layer by layer and erase the area where each person is located.
But they are all on top of each other and I don’t know where to begin erasing.  I click on layer 1.  I then right click on the black box and will temporarily disable the layer mask by right clicking on the black box and select disable layer mask.
A red “x” will appear on the black box and I will see myself pop up standing next to the piano.  So I know that once I re-enable the layer mask, I want to erase in the area where I would be standing next to the piano (because I won’t see it, it will only be my background image I will see).
 
So right click on the black box/red “x” to Enable the layer mask.
It will take me back to my original empty person image and I need to begin erasing.
I select the brush tool (get a soft brush) and make sure my color selection is on white to reveal.
Black conceals
White reveals
(that’s what Julie taught me)
So I want to reveal my standing self in layer one, using the brush to reveal
I’m sortof guessing where my body parts are located as I erase back.  Fortunately, nothing else has moved (the piano, the wall, the rug are all the same in each layer).  The only problem we ran into is that in the few minutes that I snapped these shots, the window light changed as the sun went behind a cloud temporarily.  This made the light in the room a bit different in each frame.
Here I am–layer 1 revealed!
See the shadow around my arm?  Happened with the wall changing colors as the sun hid behind cloud.
So I switch back to my black color and erase a little to conceal that black area and lighten it.
There.  Better.  I did this sortof slopping, but made the dark area a bit better, and even lowered my opacity a little to not make it so harsh.  Julie mentioned to make sure you don’t take away the natural shadow you would get if it exists, too.
Now onto layer 2 using this same method repeated.
I disabled the layer mask to get the red “x” and realize layer 2 is the image of me sitting at the piano.  After re-enabling the mask, I start to erase or reveal with white brush around the piano bench (the standing “me” is still there).   Next layer is me sitting in the chair.
Once you have the layers all revealed,  you flatten the layers (layer+flatten image), add any actions you would like, and save as a jpg.
Fun, huh?
Now, I want to see some self portraits from you!  Whether you have kids or not, you need to be documented.  My challenge I extend is to be creative and share a self portrait.  If you have kids, include your kids.  I want to do a series of self portraits with my kids and come up with random stuff that will create fun memories for them to look back on. That way they can enjoy photography along with me instead of resenting when my camera comes out.  Look at what Julie has done fun with her kids:
 

Have you ever had one of these moments?

Above, her son is hiding in 6 spots in the room.
And here are some creative shots she’s done of just herself:
I had to double check to make sure that was actually her!  Soo cool!
Are those FUN or what?!?  She says she may make a calendar for her hubby–what a great idea!  Our hubby’s need to look at us all day long while they are at work:)
Here are a few more funny self portrait images around “guilty pleaseures” check out the lady in a bath full of diet coke!
If you’ve done this, or do this, link up so others can see, too!
(This post was originally posted by me on The Idea Room over a year ago, I tweaked it to post today)
Linking this up to:
Show and Tell Saturday at Be Different…Act Normal
 Weekend Wrap Up at Tatortots & Jello
Show & Share with Southern Lovely
If you’d like some inspiration, go to those 3 links and you will find so much fun stuff!
Privacy Policy