You may want to know How to Convert a Door to a Sliding Barn Door if you’ve got an awkward space like we did in our bedroom, so follow along to see the process!

We moved into the our 25 year old home 5 months ago, and from the beginning, we had some serious plans for our bedroom. When I decided to work on our room for the One Room Challenge, not only did we have plans to fill in the arch above our doors (which we shared in How to Patch Drywall) but we couldn’t open and close the bathroom door because it would hit the night stand. So we’ve been showering and going to the bathroom with the door wide open because it was our only option! Thankfully our girls GET IT that when our BEDROOM door is closed, they knock there first.https://web.comillaboard.gov.bd/bisecb![]()
Hinged Door to Sliding Barn Door
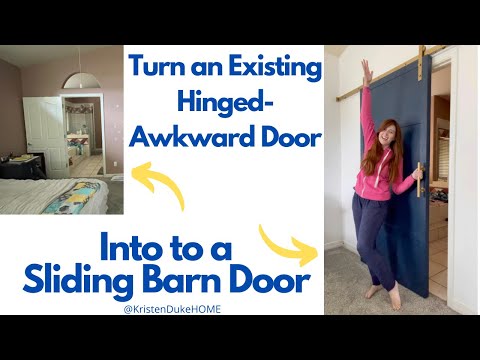
The bathroom door was traditionally a hinged door, and we thought a sliding barn door was the perfect solution. Thus our plans to convert the door to a Sliding Barn Door. The best way to explain the process is through pictures. I did a GREAT job of taking video through this process, but not as great with the still shots, so the quality might not be as great, as I am sharing screenshots of the video in the process!
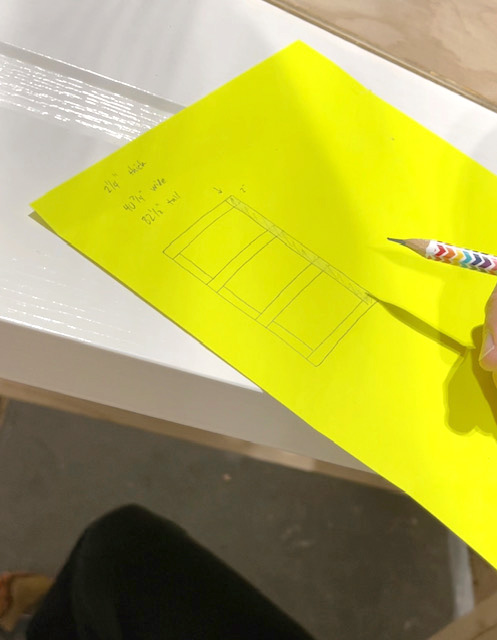
We had to do some math for this project (as with many!) and thankfully I’ve got my husband by my side, because I’m an estimator!slot88
In order to cover the door frame, we had to extend the existing door 2.5 inches on the sides and top for the sleekest look. We used 1/8 inch plywood, and we were fortunate enough that we had extra leftover from our Board and Batten accent wall in the family room, so we didn’t have to buy any, but we calculated it would be about $45 if we were to go out and buy it.
Supplies for sliding barn door conversation
- 1/8 inch plywood
- wood glue
- finishing nails
- sturdy screws
We chose to have 2.5 inch “batten” or decorative framing on the front of the door, slightly thicker than the 2 inch batten we used on the family room accent wall.
Sliding Barn Door Hardware
Sliding barn door hardware has come a long way since we created our sliding barn door TV cover 10 years ago. We found our set on Amazon for around $50, the only challenge is that all of the less expensive hardware is made for standard door thickness, and since we added some depth to an existing hinged door, we had to finagle a few things.
We got the kit for the handle in a different purchase.
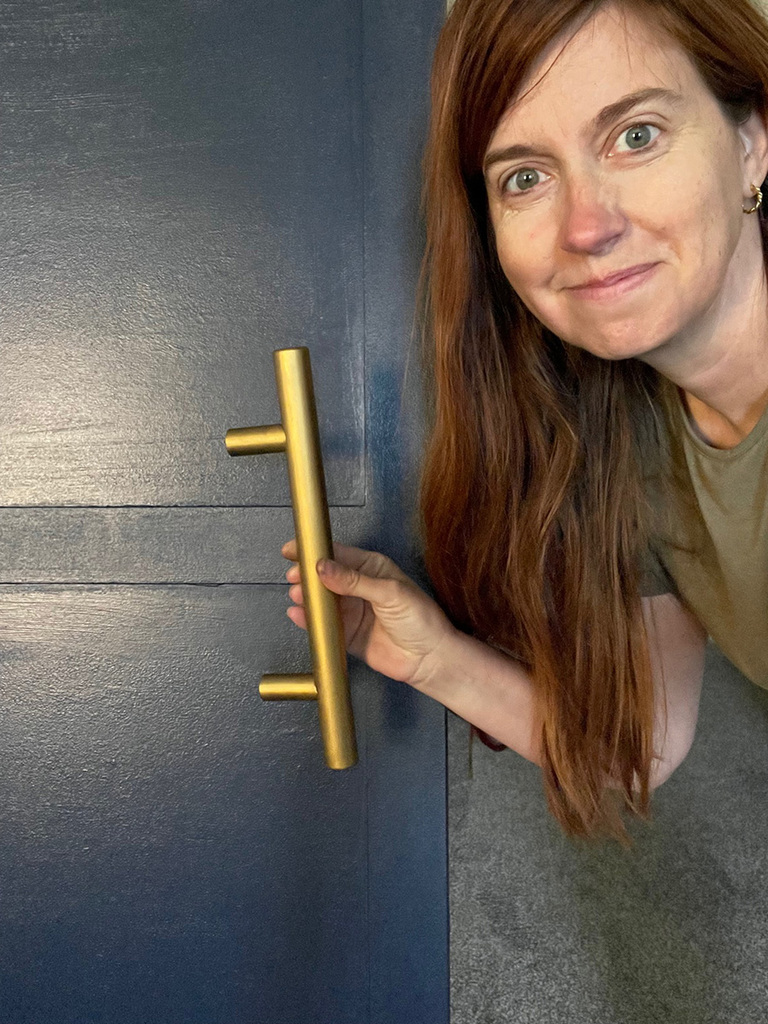
The link to the Rub ‘n Buff is below, it’s what I spread on the black metal to make it GOLD!
Sliding Barn Door Tutorial
I’ve got a more in depth video that I put on YouTube that will better help see how it all came together. It’s only 11 minutes, if you’d like to do this project, it may just help!

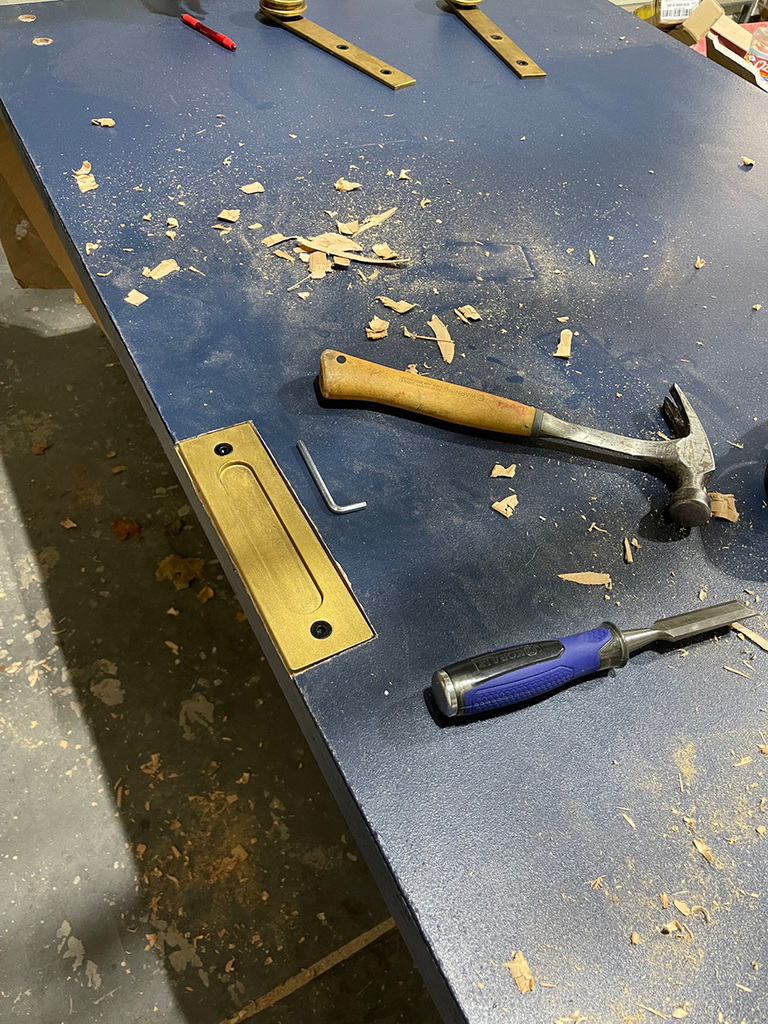
We had to cut out portions of the door to allow for the hardware to fit, thick-ness wise.
 A final shot of the sliding barn door:

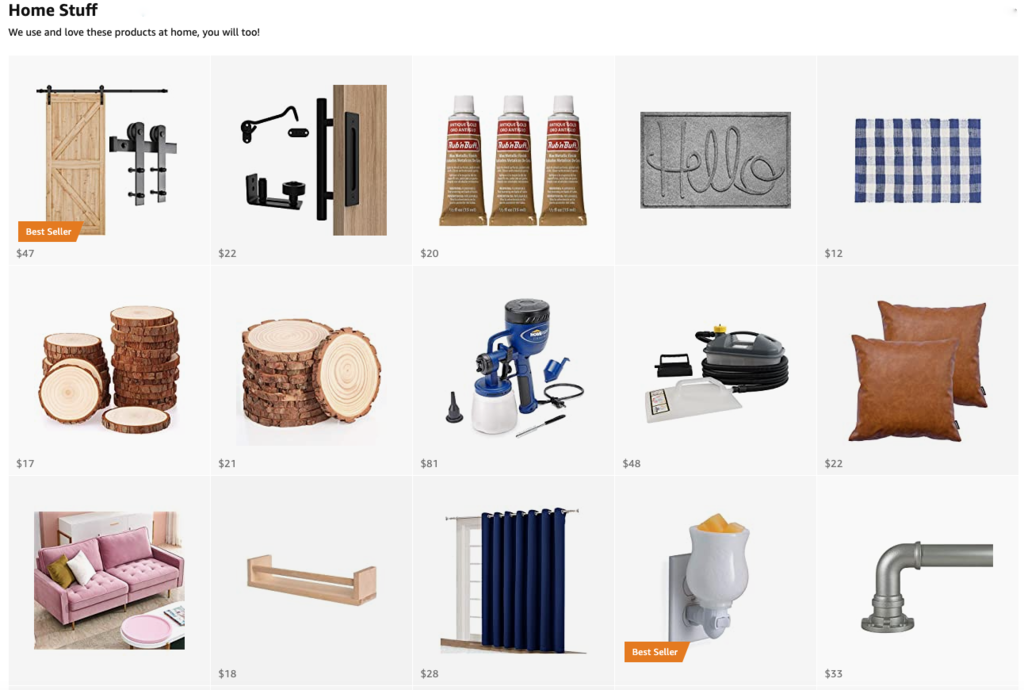
To see more of the things in my home, you may enjoy this section of my Amazon Store: