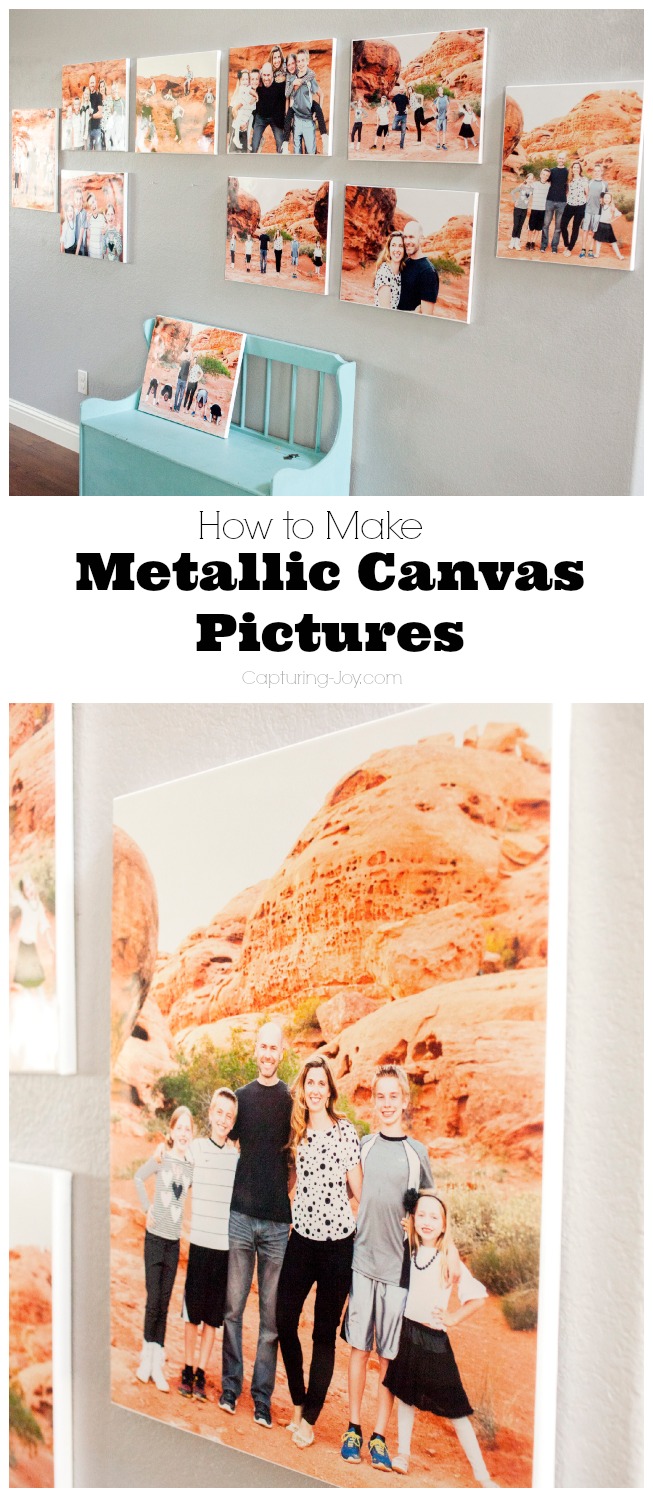
I’ve been meaning to share my Metallic Canvas Pictures for a good two months, but keep forgetting to take pictures of them! I pulled a little DIY trick to turn my pictures into a canvas!
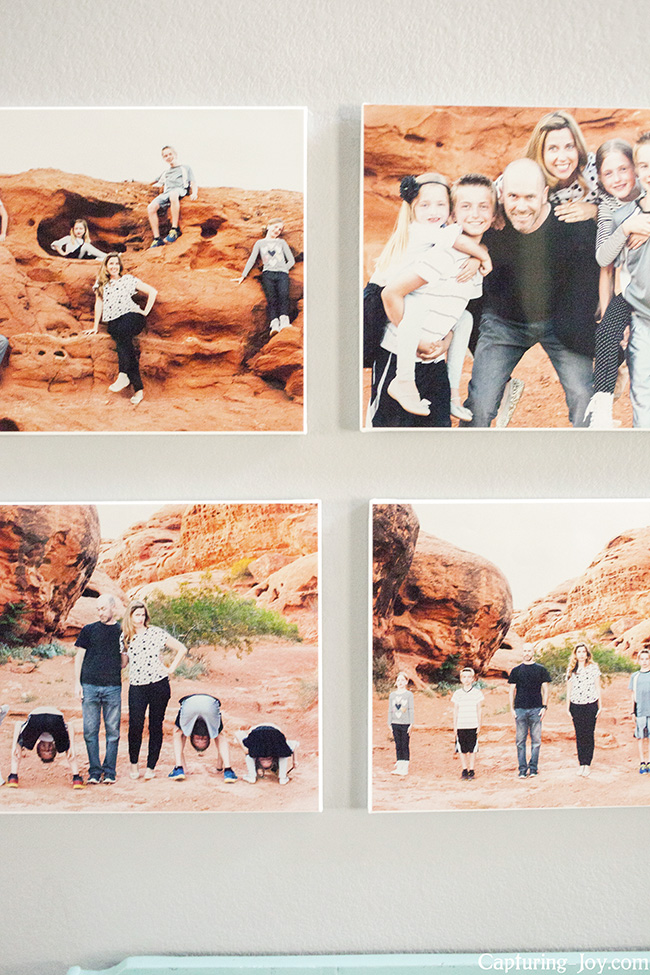
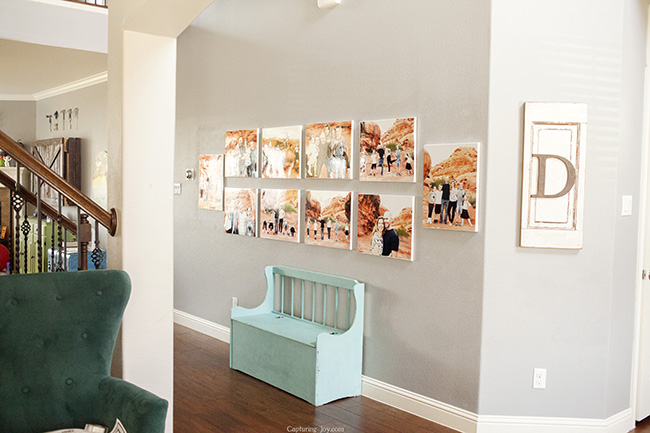
When we took our family pictures last May in St. George, Utah, amidst the orange rock, I was so THRILLED with how they turned out. I mean, I took a tripod, ran, and we only took about 20 pictures total. Of those 20, I now have 10 hanging on my wall! My kids were rockstars that day, and I love the variety of images we got. So of course I had to hang them all up! It was a sad day to take down the Vintage Windows I turned into picture frames, but it was time. And, they didn’t go too far. They are on the stairwell wall now.
I love the look of the metallic prints. It’s a subtle, different look on prints that give them a fun sheen. Everyone that comes over can tell it isn’t a standard print, but they can’t quite put their finger on it. Some have guessed that it’s actual metal! They are a bit more expensive than standard prints, and I got a lot of them, but I think it’s worth it for something more unique.
DIY Metallic Canvas
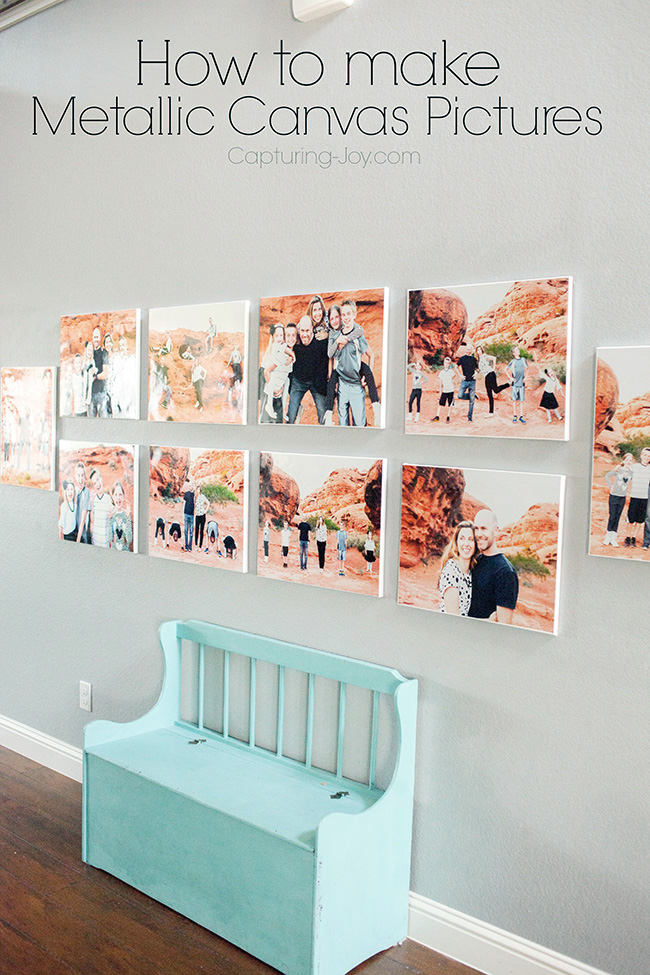
Since I have such a big wall, I knew I had to do something big. After thinking about it for a while, I eventually came up with this idea. I purchased 10 canvases at my local craft store. They came in a two pack for $8. You can watch for them to go on sale or buy them with a coupon to help with the cost. I then got the spray glue (Elmer’s) and doused each of my prints on the back, and carefully attached them to make sure the edges lined up.
Here is how I measured with paper traced the same size. My husband helped me measure it all out with a lazer level. I wanted it straight and even on the wall. I despise measuring, but it’s got to be done.
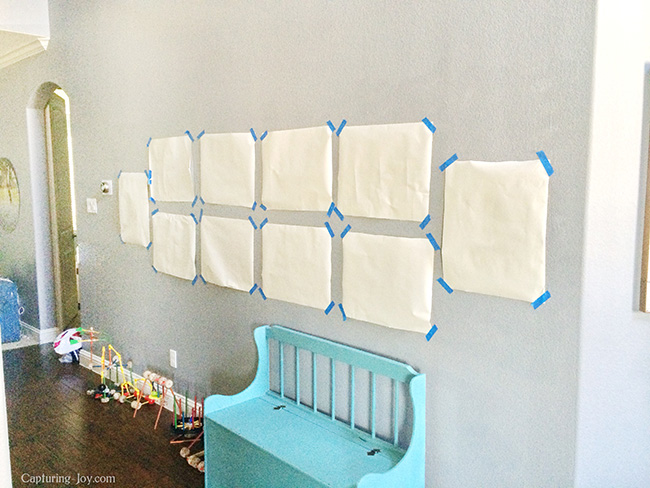
After I had it up and felt satisfied, I used thumb tacks to make holes where they needed to go. It’s an EASY hanging solution!
Supplies:
- 10 craft canvas
- 10 16×20 prints
- 2 bottles spray glue
- 20 thumb tacks
Here are a few more angles, the metallic is also tricky to photograph, with the sun and glares!
This image has a bunch of glare on it, but it’s a good pull back shot of the wall from my Living Room, and you can see parts of our Family Room on the other side.
I am REALLY happy with how they turned out!!! I’d used the spray glue on something else and the picture peeled off, so this time I made sure I got complete coverage–TWICE so it would adhere well.