Levitation photos make fun and spooky Halloween decorations. Learn how to create levitation photos of your own with this Halloween photography tutorial.
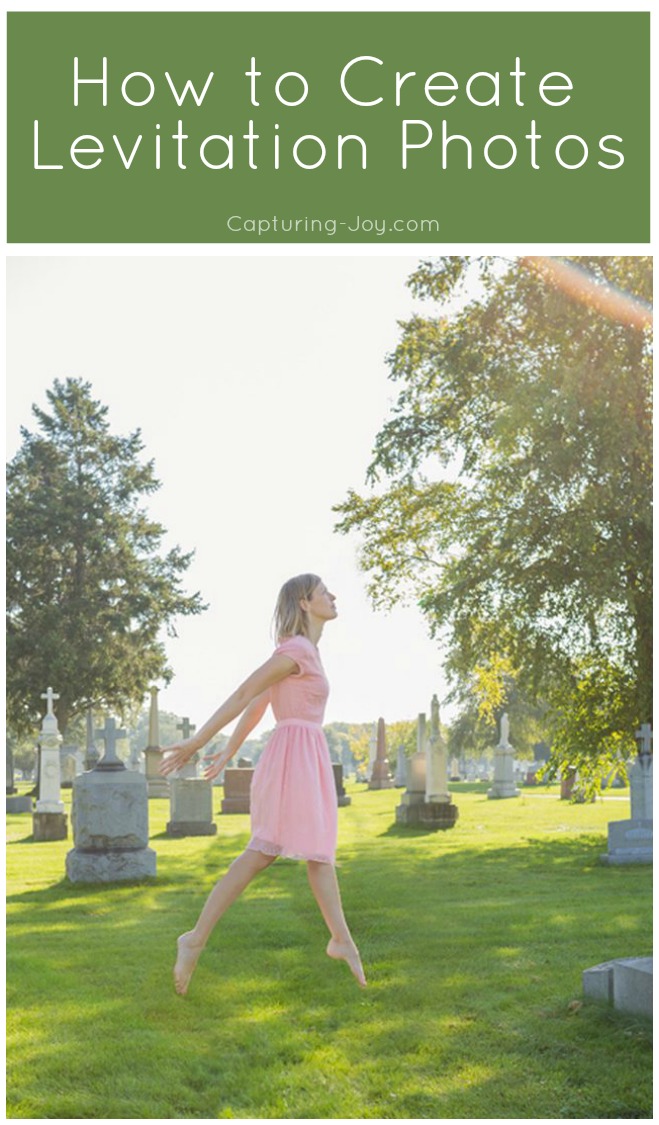
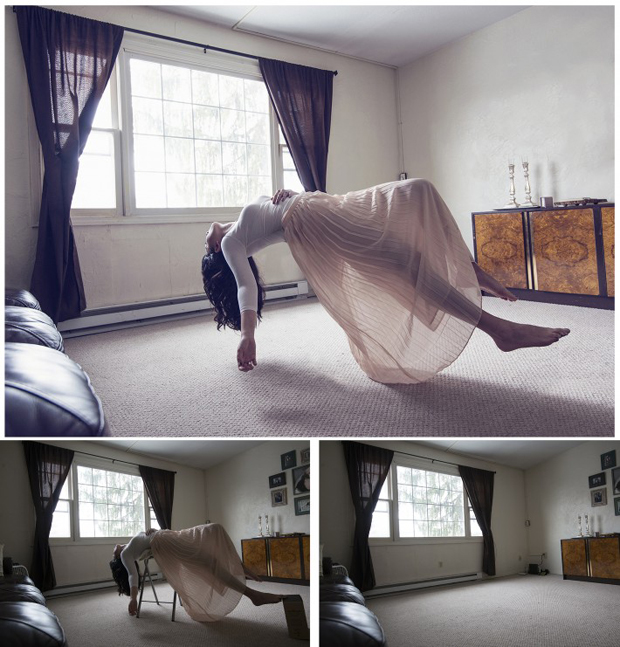
Convincing levitation photos are a gathering of a handful of images taken of the same subject, and then stitched together in photoshop. The results are amazing!
Before shooting:
1) Make a plan before you start taking pictures. Think about the kind of levitation you are trying to achieve. How will you create the illusion? Will your model be lying on a table? Standing on a stool? Lying on some milk crates? Collect all your props and materials.
2) Choose your model, clothing and location. Free flowing fabric, such as a dress or skirt can enhance the flotation illusion, but you have to also be careful to see how it drapes while you are shooting. Will the model’s hair be blowing in the air as she floats? If so, you may need to bring in a fan. If you’re shooting outdoors, pick a spot with minimal background distractions.
 Shooting:
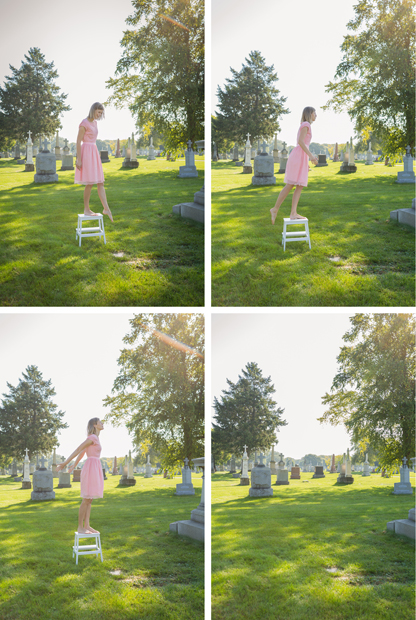
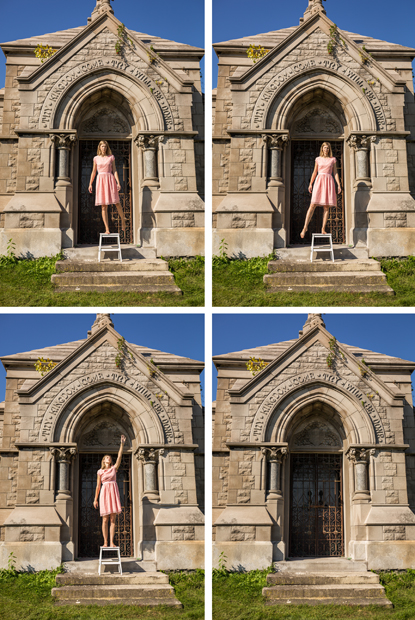
1) To create the illusion of a person levitating, you will need to take at least 3 pictures and maybe many more. Each picture will be a piece that you will use in your composite image, for example, each floating foot will need to be a separate shot.
2) Take a picture of the exact same scene without your model in it. This empty image is key to successful post-processing.
2) You must shoot with a tripod. All of your pictures need to line up exactly. If you shoot without a tripod, your images will each be slightly different, making the photoshop work afterward very difficult.
3) You may even want to use a trigger release cord or a remote. This will prevent any camera shake or movement that can occurs when you press the shutter button.
4) Set your exposure and focus using the manual settings. Once you have set your exposure and focus, do not change it for any of the pictures! You want the focus and exposure to remain exactly the same for all of the images. This is especially important for the “empty scene” image. If you use auto focus, the camera will likely select a different focus point when the scene is empty than it would when you have a person in the frame.
5) Pay close attention while you are shooting to the areas where you will be removing the props in Photoshop, such as the stool or table that your model is standing on. Try to avoid situations that will make the post-processing difficult. Is the model’s sweater hanging over the table properly? Are the model’s toes blocked by the edge of the stool?
6) If you shoot from a low angle, it will make the person appear to be floating higher in the air.
7) Check your angle. If you shoot from a low angle, it will make the person appear to be floating higher in the air.
Post-processing:
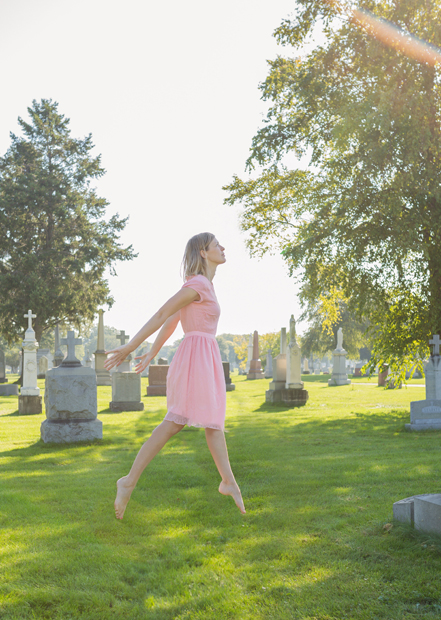
1) After you have shot the images, open them in Photoshop. Put each image in a separate layer. Put the “empty shot” (the one of the scene with no person in it) on the bottom. Then, using layer masks, use a black and a white brush to erase off the parts of each shot that you do not need.
2) Pay close attention to shadows and reflections. You don’t want to leave the shadow of the stool in your final image!
3) When you are finished masking, flatten the image and save. The concept behind levitation photography is simple, but it is not always easy to execute. Take time to practice! You may need to shoot several scenes before you get the kind of image you want.
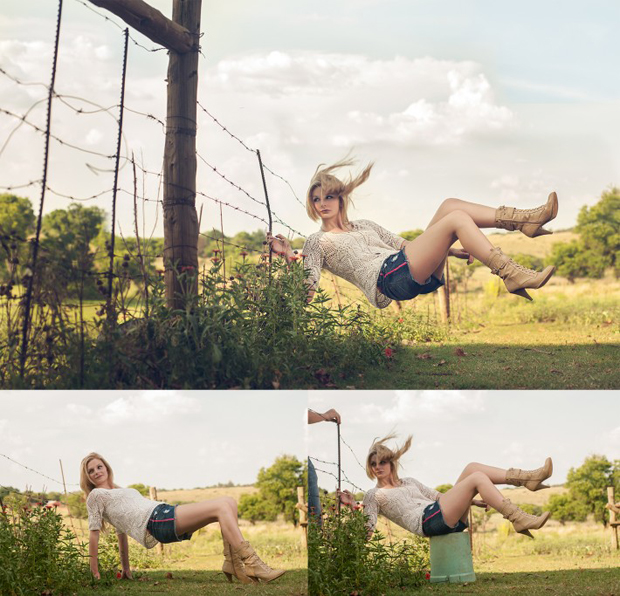
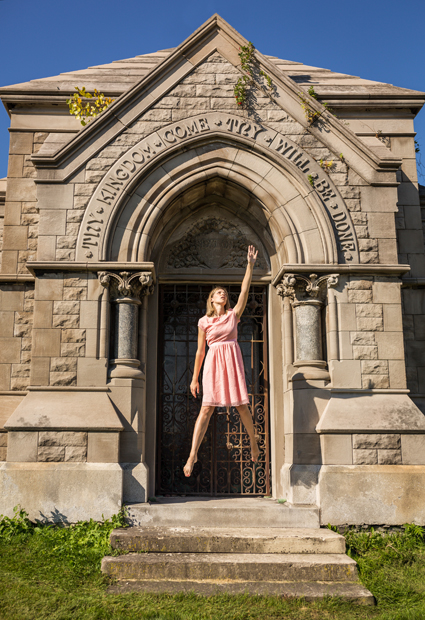
Here are 3 more examples/ideas:
1)
2)
3)
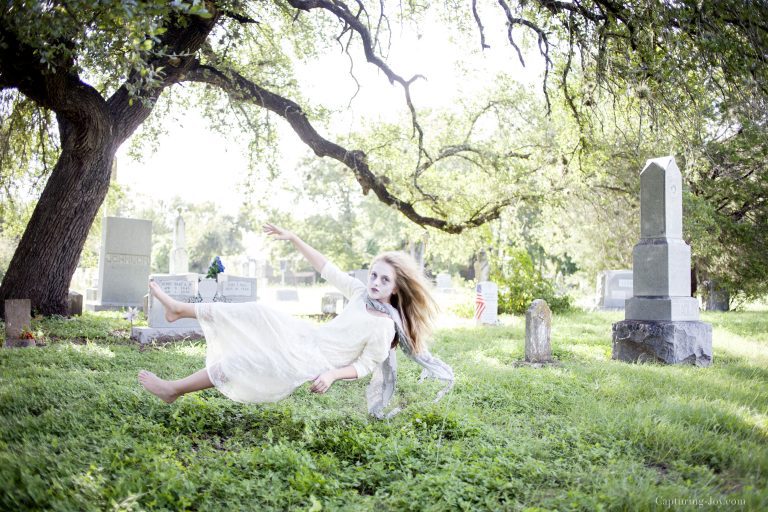
Doesn’t this sound like fun? If you’re a photography enthusiast, grab your camera, a model, and go scout out a fun location! Your friends will be so impressed with the images you create! You can see how I used this same technique to create floating pictures of my daughter.
What more photography tips? I’ve got lots!
What more Halloween fun? Click on either link!
Here are a few faves: Halloween lunch box jokes// Halloween photo booth
If you’d to join the Capturing Joy Photo Club on Facebook, where we have photo challenges, Q&A’s, and image sharing, request to join HERE: https://www.facebook.com/groups/CapturingJoyPhotoClub/


