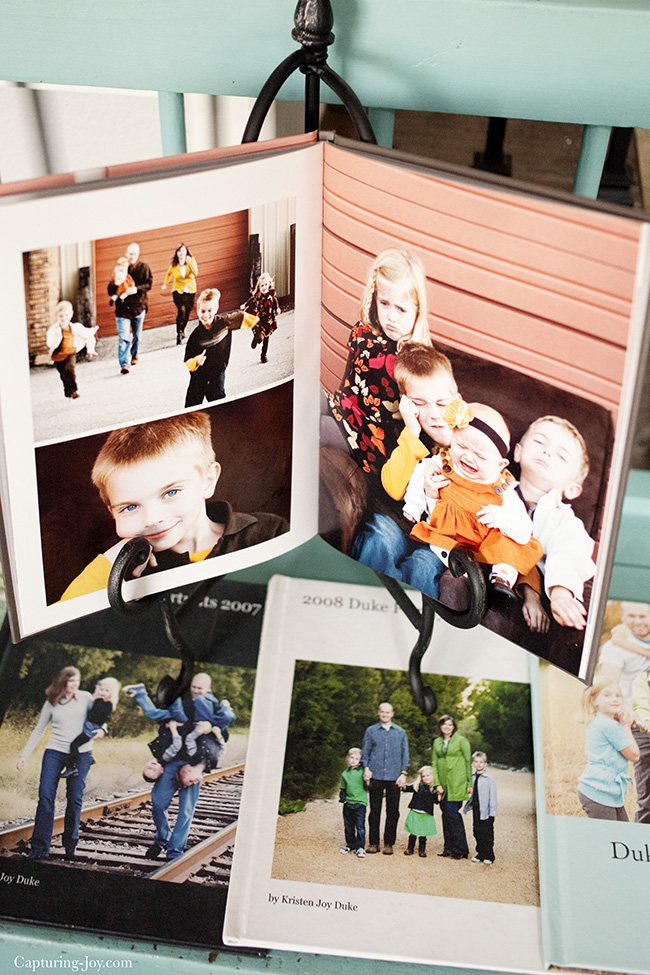
If you’ve taken family photos recently, and only printed one or two images to decorate with pictures, then this is the post for you. In the past few years, photographers are generally including many digital images in their packages. As a photographer myself, I LOVE knowing that the silly candid shots are included with the formal posed shots for the family to enjoy. Sometimes though, people don’t often know what to do with all of those images, so I’m showing you what I do with them. Make picture albums Here are some from our family over the years.
Enjoy 35% Off Your First Photo Book with BLURB on that link!

I have used Blurb Books for years, and love the ease and simplicity with their process. If my pictures are all in one folder and semi organized, it really only takes me about an hour to drop them in. I don’t add any text, just a bit in the title about the location and date. If I get hung up on writing something, I get overwhelmed. These books are all about the pictures.

It’s my goal this year to get caught up on making these, and have printed the last 4 from working on them recently.
Here are a few tips to make this process seamless:
- Organize your pictures by date. We have family pictures taken at least once a year, sometimes twice (I know, it’s crazy, but I’m a photographer, so it’s important to me, AND I swap with my friends!) When I build these albums, I just do one at a time.
- Once you are organized, select just one family photo session to tackle at a time. In this case, it’s our California pictures on the beach.
- Before you upload anything to BLURB, make sub folders on your computer. Pick your top 10 or so favorite images that you love the most, and put them in a folder within the folder called “faves” or “best” plan to have them on a full page.
- Upload those favorite pictures first, and insert them into the album at random. What I like about these albums is that you don’t have to over think the order because they are all taken on the same day. I like the hap hazard way of putting them in, but you can be more methodical if you’d like.
- After putting in your favorites, then load the rest of the images and decide if they need a half page, quarter page, or even an extra full page. If I have 4 of a similar shot/pose, and just can’t part with any of them, I’ll spread them throughout the book. If it’s a shot of dancing or movement that is similar, but different enough, I’ll do 2 or 4 on a page.
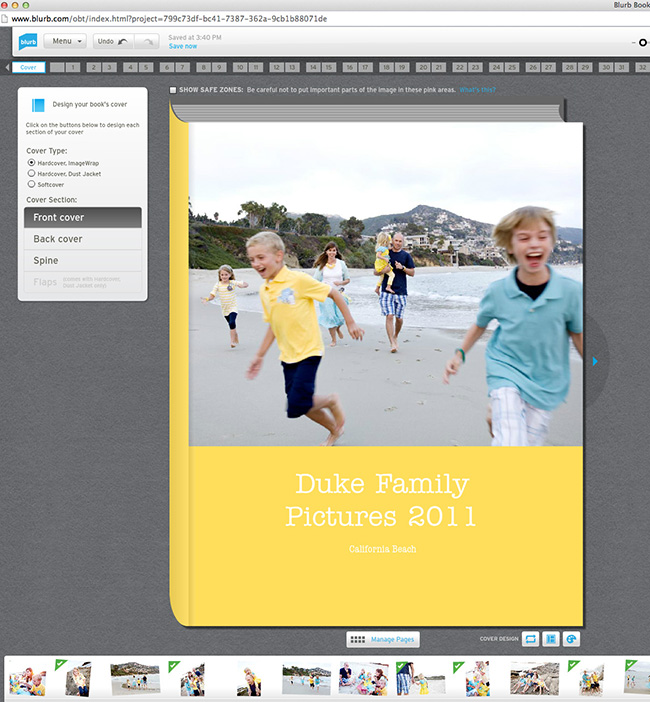
Here are some shots of what BLURB looks like in their design program.
This is the cover. I like to pick one of my favorites to insert and then I can choose the color according to what colors we have in our clothes. On the bottom right corner of the book is a paint palette, and from there you can color pick. I simply put the year and location on the cover and that’s that. With this design, a horizontal picture works best. I also include a picture on the back, and I LOVE the hard cover, image wrap books the best.
Once you are in the page spread, it shows both sides, so you can make sure they coordinate with each other. Here are a few tips with red arrows
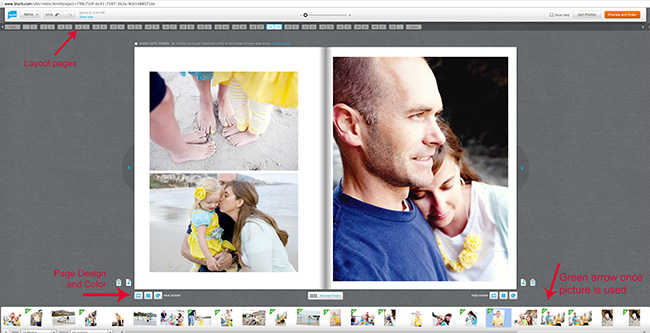
Because it’s so wide, it’s hard to tell, so I’ll share a few points about the spread:
- The top numbers are all the spreads, so I have 41.5 pages in this album.
- I can hop from page to page by clicking on the numbers at the top, or on the arrows on the right or left to go the back before/after.
- The bottom left boxes allow you to change the page from a 1 image, 2 image, 3,4, or 5+ images on a page.
- I prefer to see the pictures more, so only do a few with more than 2.
- You can also change the color of the page background, but I like a seamless white.
- The button the bottom, Manage Pages, allows you to drag and drop the order of your pages if you want to do that. All of the images that you.
- Once you use an image from the folder, a green check mark will show up so you don’t duplicate it throughout the book.
I really do love the ease and simplicity of making these books.
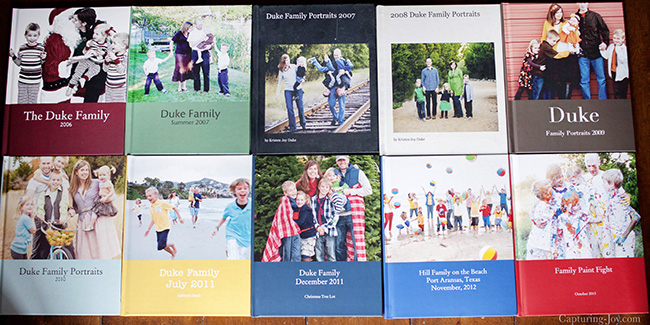
Here are all 10 I have so far:
If you want to see more of our family photo sessions, click on the links below:
- Family Paint Fight 2013
- Beach Balls with Extended Family 2012
- California Beach 2011
- Christmas 2011
- Pastels with Bike 2010
- Orange, mustard, and brown 2009
- Navy and Green 2008
- Santa 2006
I still need to make albums for:
- Black and White on Orange Rock in Utah 2014
- Buffalo Plaid Christmas 2014
- Mint & Peach Family Pictures at Home 2012
- Teal, Gray, and Black extended family 2009
- Pink, green, and blue in the snow 2010
With any new program, there is a bit of a learning curve, but once you figure it all out, and have 50 or so pictures, you can create these lovely books in an hour or two each.
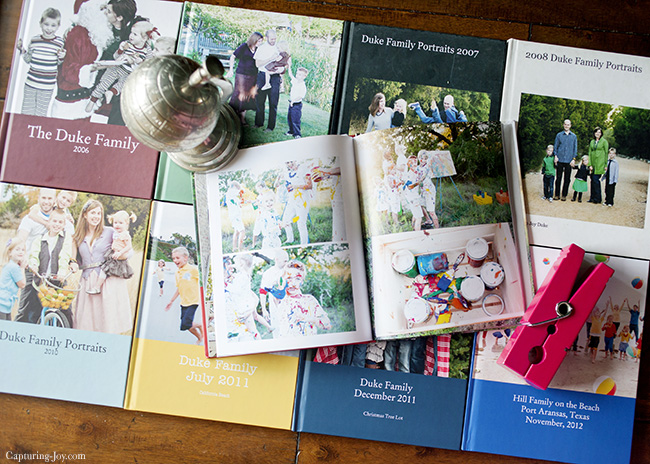
I leave the books out so the kids can look through them and enjoy them as much as I do.

Disclosure: I earn a small percentage from Blurb if you end up making your own books after hopping from my site, but I would not share about them unless I loved them!
P.S. I share fun family photos of my own and those I take on Instagram from time to time. If you’d like to see more, follow me on Instagram!
If you’d to join the Capturing Joy Photo Club on Facebook, where we have photo challenges, Q&A’s, and image sharing, request to join HERE: https://www.facebook.com/groups/CapturingJoyPhotoClub/
